
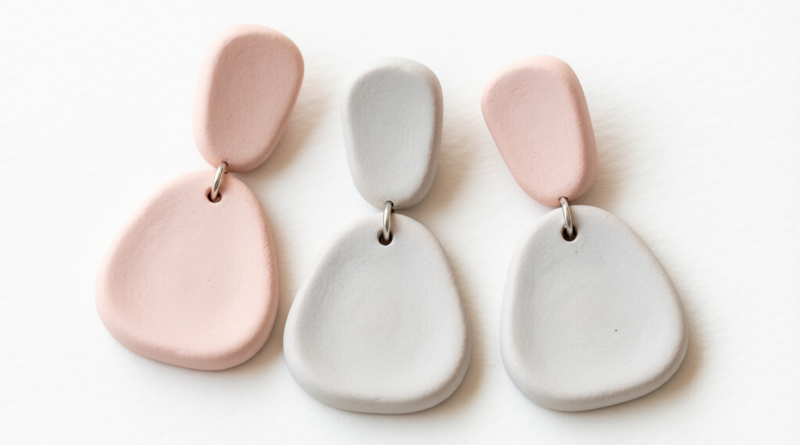
Air Dry Clay Jewelry: How to Make Minimalist Earrings and Pendants
Here’s the thing most beginner jewelry makers don’t realize: you don’t need a kiln, a studio lease, or even a dedicated craft table to start making air dry clay jewelry. Just your hands, a few dollars’ worth of supplies, and about 20 minutes of quiet focus. That’s it. What you get back? A set of lightweight, modern DIY clay earrings or minimalist clay pendants that look like they came from a Brooklyn boutique — not your kitchen counter.
Materials You’ll Need
You’ll be surprised how little you actually need. No fancy kits. No “starter bundles” with half the tools you’ll never use. Just this:
- Air dry clay (white is easiest to paint later — but terra cotta or soft gray works beautifully for that raw, modern jewelry design vibe)
- A smooth glass bottle or rolling pin (no special clay roller required)
- Basic cookie cutters — think tiny circles, clean rectangles, or even a single sharp-edged triangle (geometric shapes are non-negotiable for minimalist clay pendants)
- A paring knife or X-Acto blade (you’ll use it more than you think)
- 220-grit sandpaper (fine enough to smooth edges without sanding through)
- Acrylic paint in matte finish (gloss looks cheap on clay — trust me)
- Matte varnish or clear acrylic sealer (this isn’t optional — it’s what keeps your handmade jewelry from crumbling after three wears)
- Jewelry findings: flat-back earring posts (not hooks — they’re sturdier), open jump rings, and simple pendant bails
- A fine-tip brush (the kind that comes with $3 watercolor sets works perfectly)
- A sewing needle or thin skewer (for piercing holes *before* drying — doing it after is like trying to drill into stale crackers)
Preparing the Clay
Kneading isn’t just ritual — it’s physics. Air pockets inside the clay become weak points. And weak points mean cracks, breaks, or pieces snapping off mid-wear. So yes, spend 3–4 full minutes working it. Fold, press, rotate, repeat. If it feels stiff, warm it between your palms first. If it sticks to your fingers? Dust your surface lightly with cornstarch — not flour (flour leaves residue that blocks paint). And if you overdo the water? Let it rest wrapped in damp paper towel for 15 minutes. Then knead again. Patience here saves hours later.
Shaping Your Jewelry
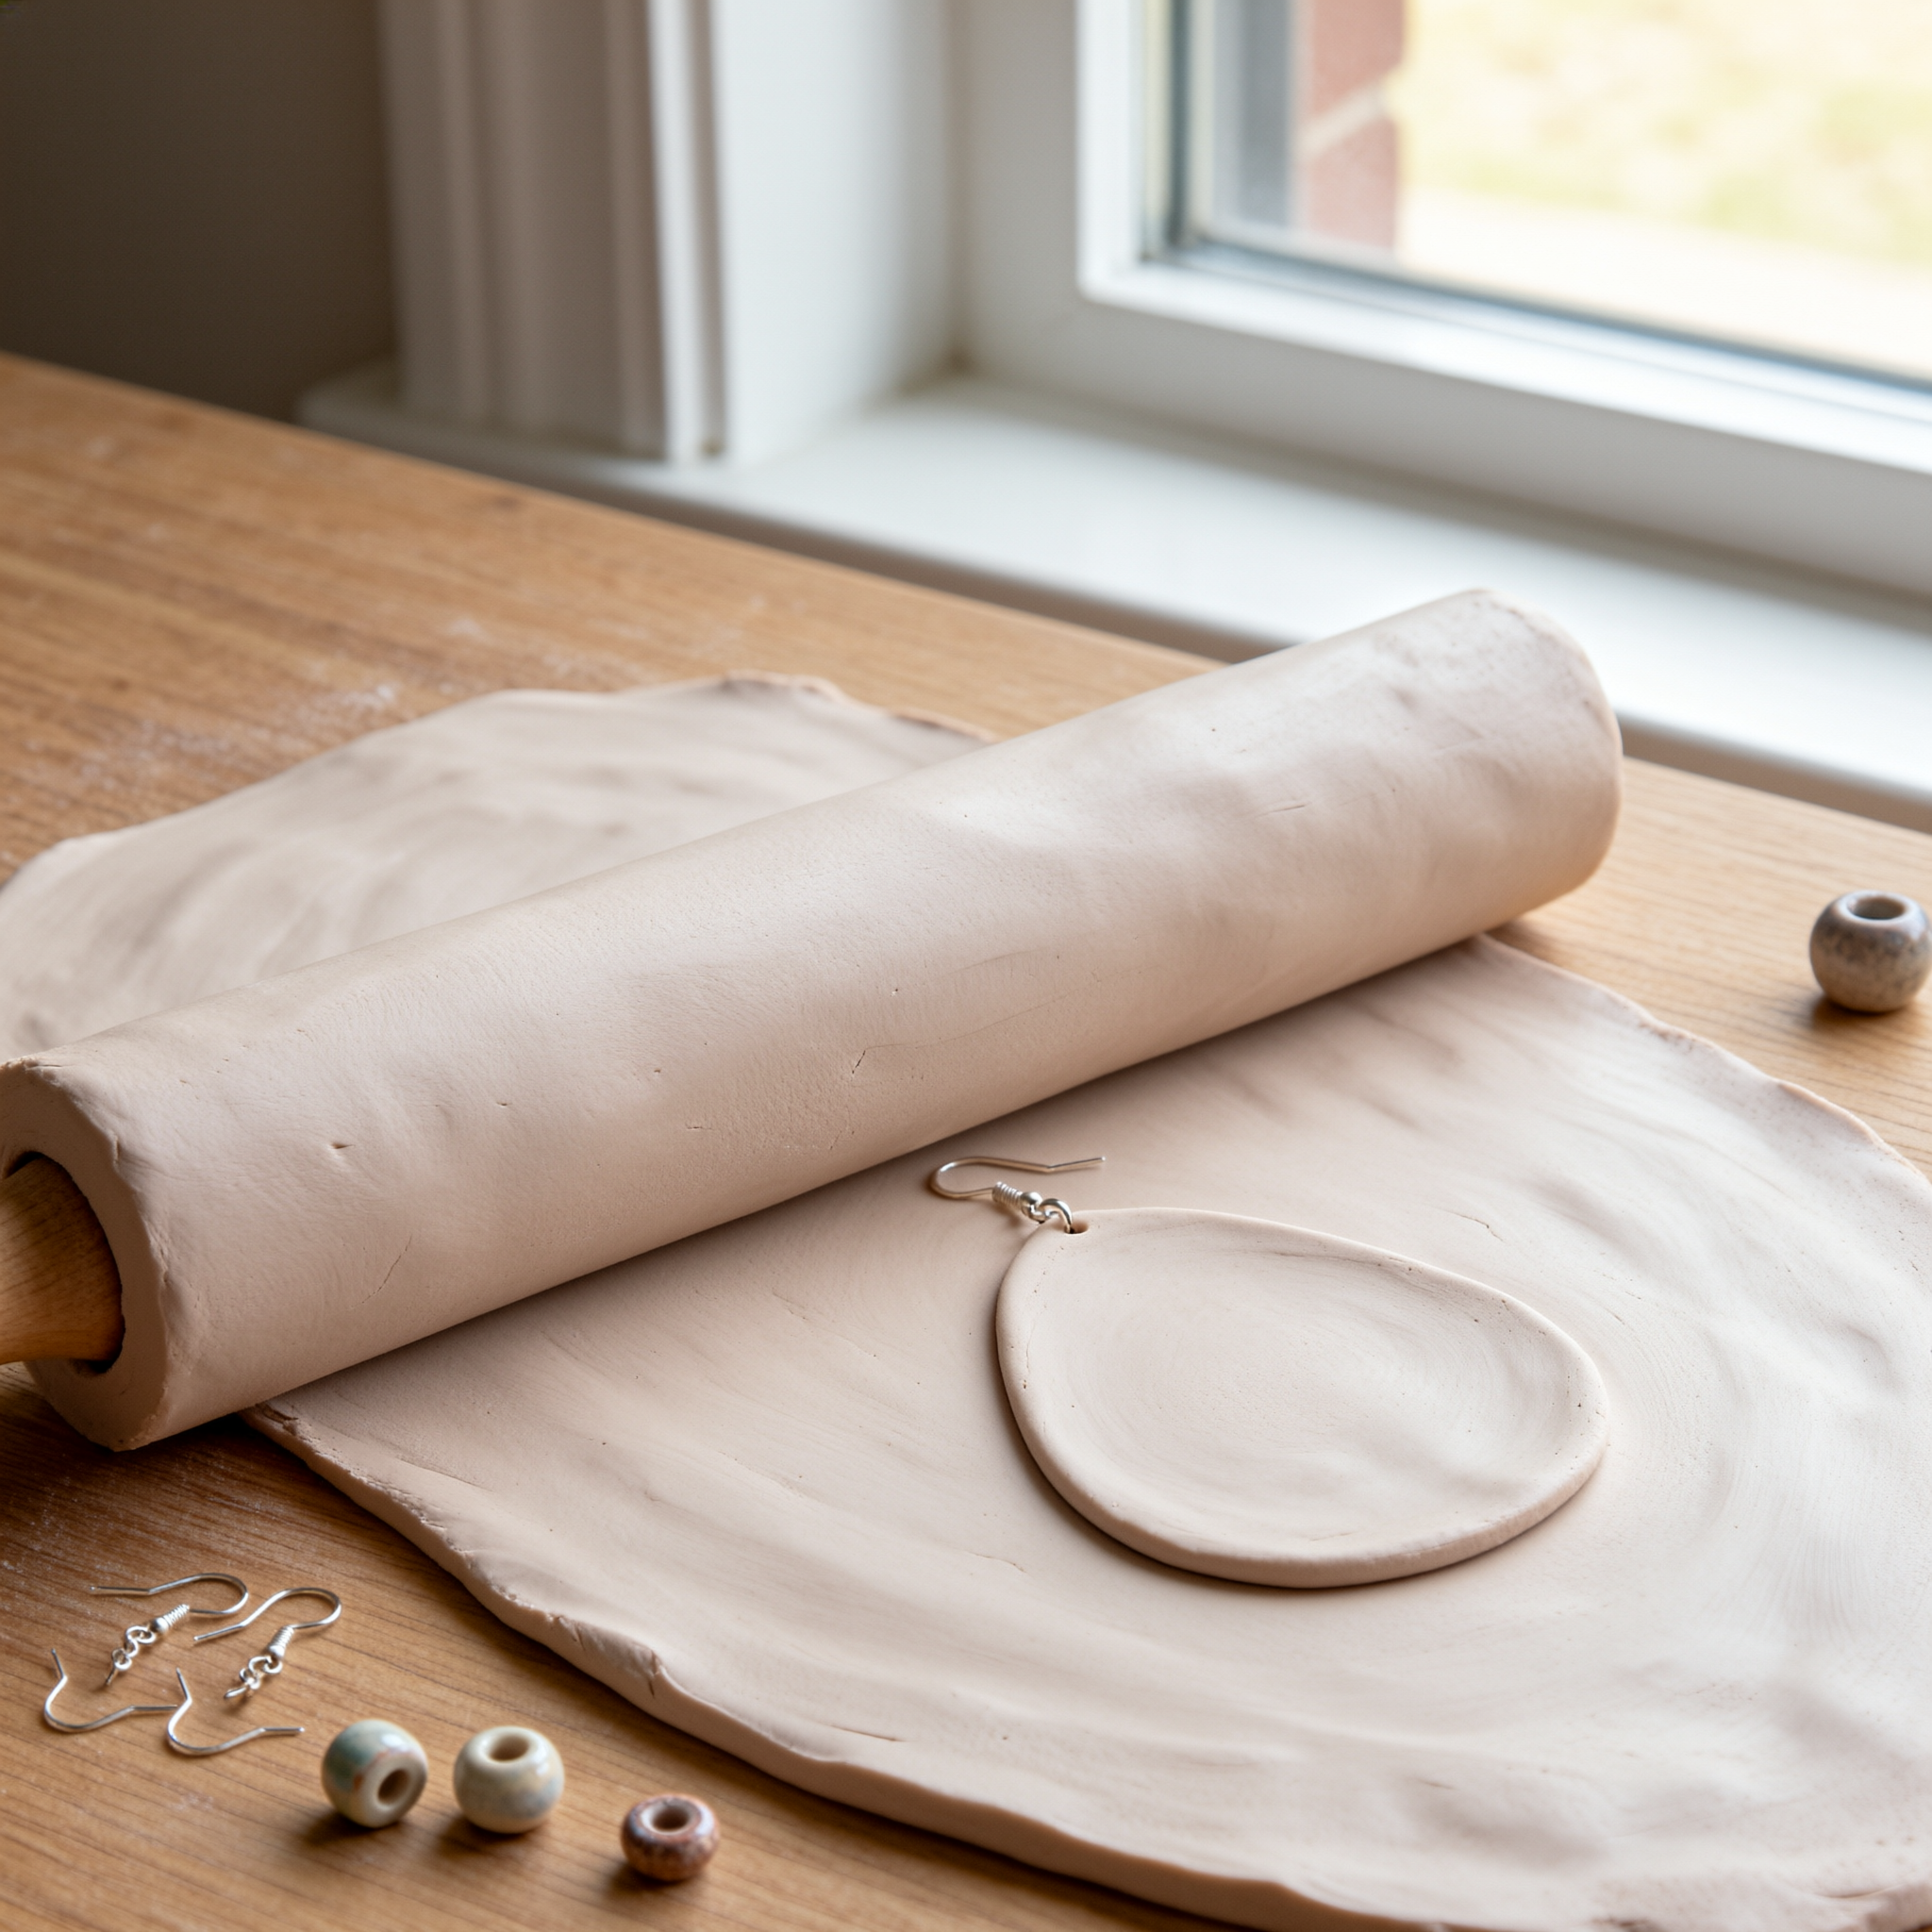
Roll it out to exactly 1/8 inch. Not “kinda thin.” Not “as thin as I can get it.” Use two toothpicks as guides — lay them parallel on either side of your clay, then roll until the pin touches both. This gives consistent thickness, which means even drying and zero warping. Cut fast — before the clay starts sticking to the cutter. For earrings, go small: 12–16mm circles or slim ovals. For pendants? Try asymmetrical teardrops or stacked rectangles. And always pierce holes *immediately* after cutting — while the clay is still soft. Place them at least 2mm from any edge. Too close, and that hole becomes a fracture line. Too far, and your earring post wobbles like it’s unsure of its life choices.
Adding Texture and Detail
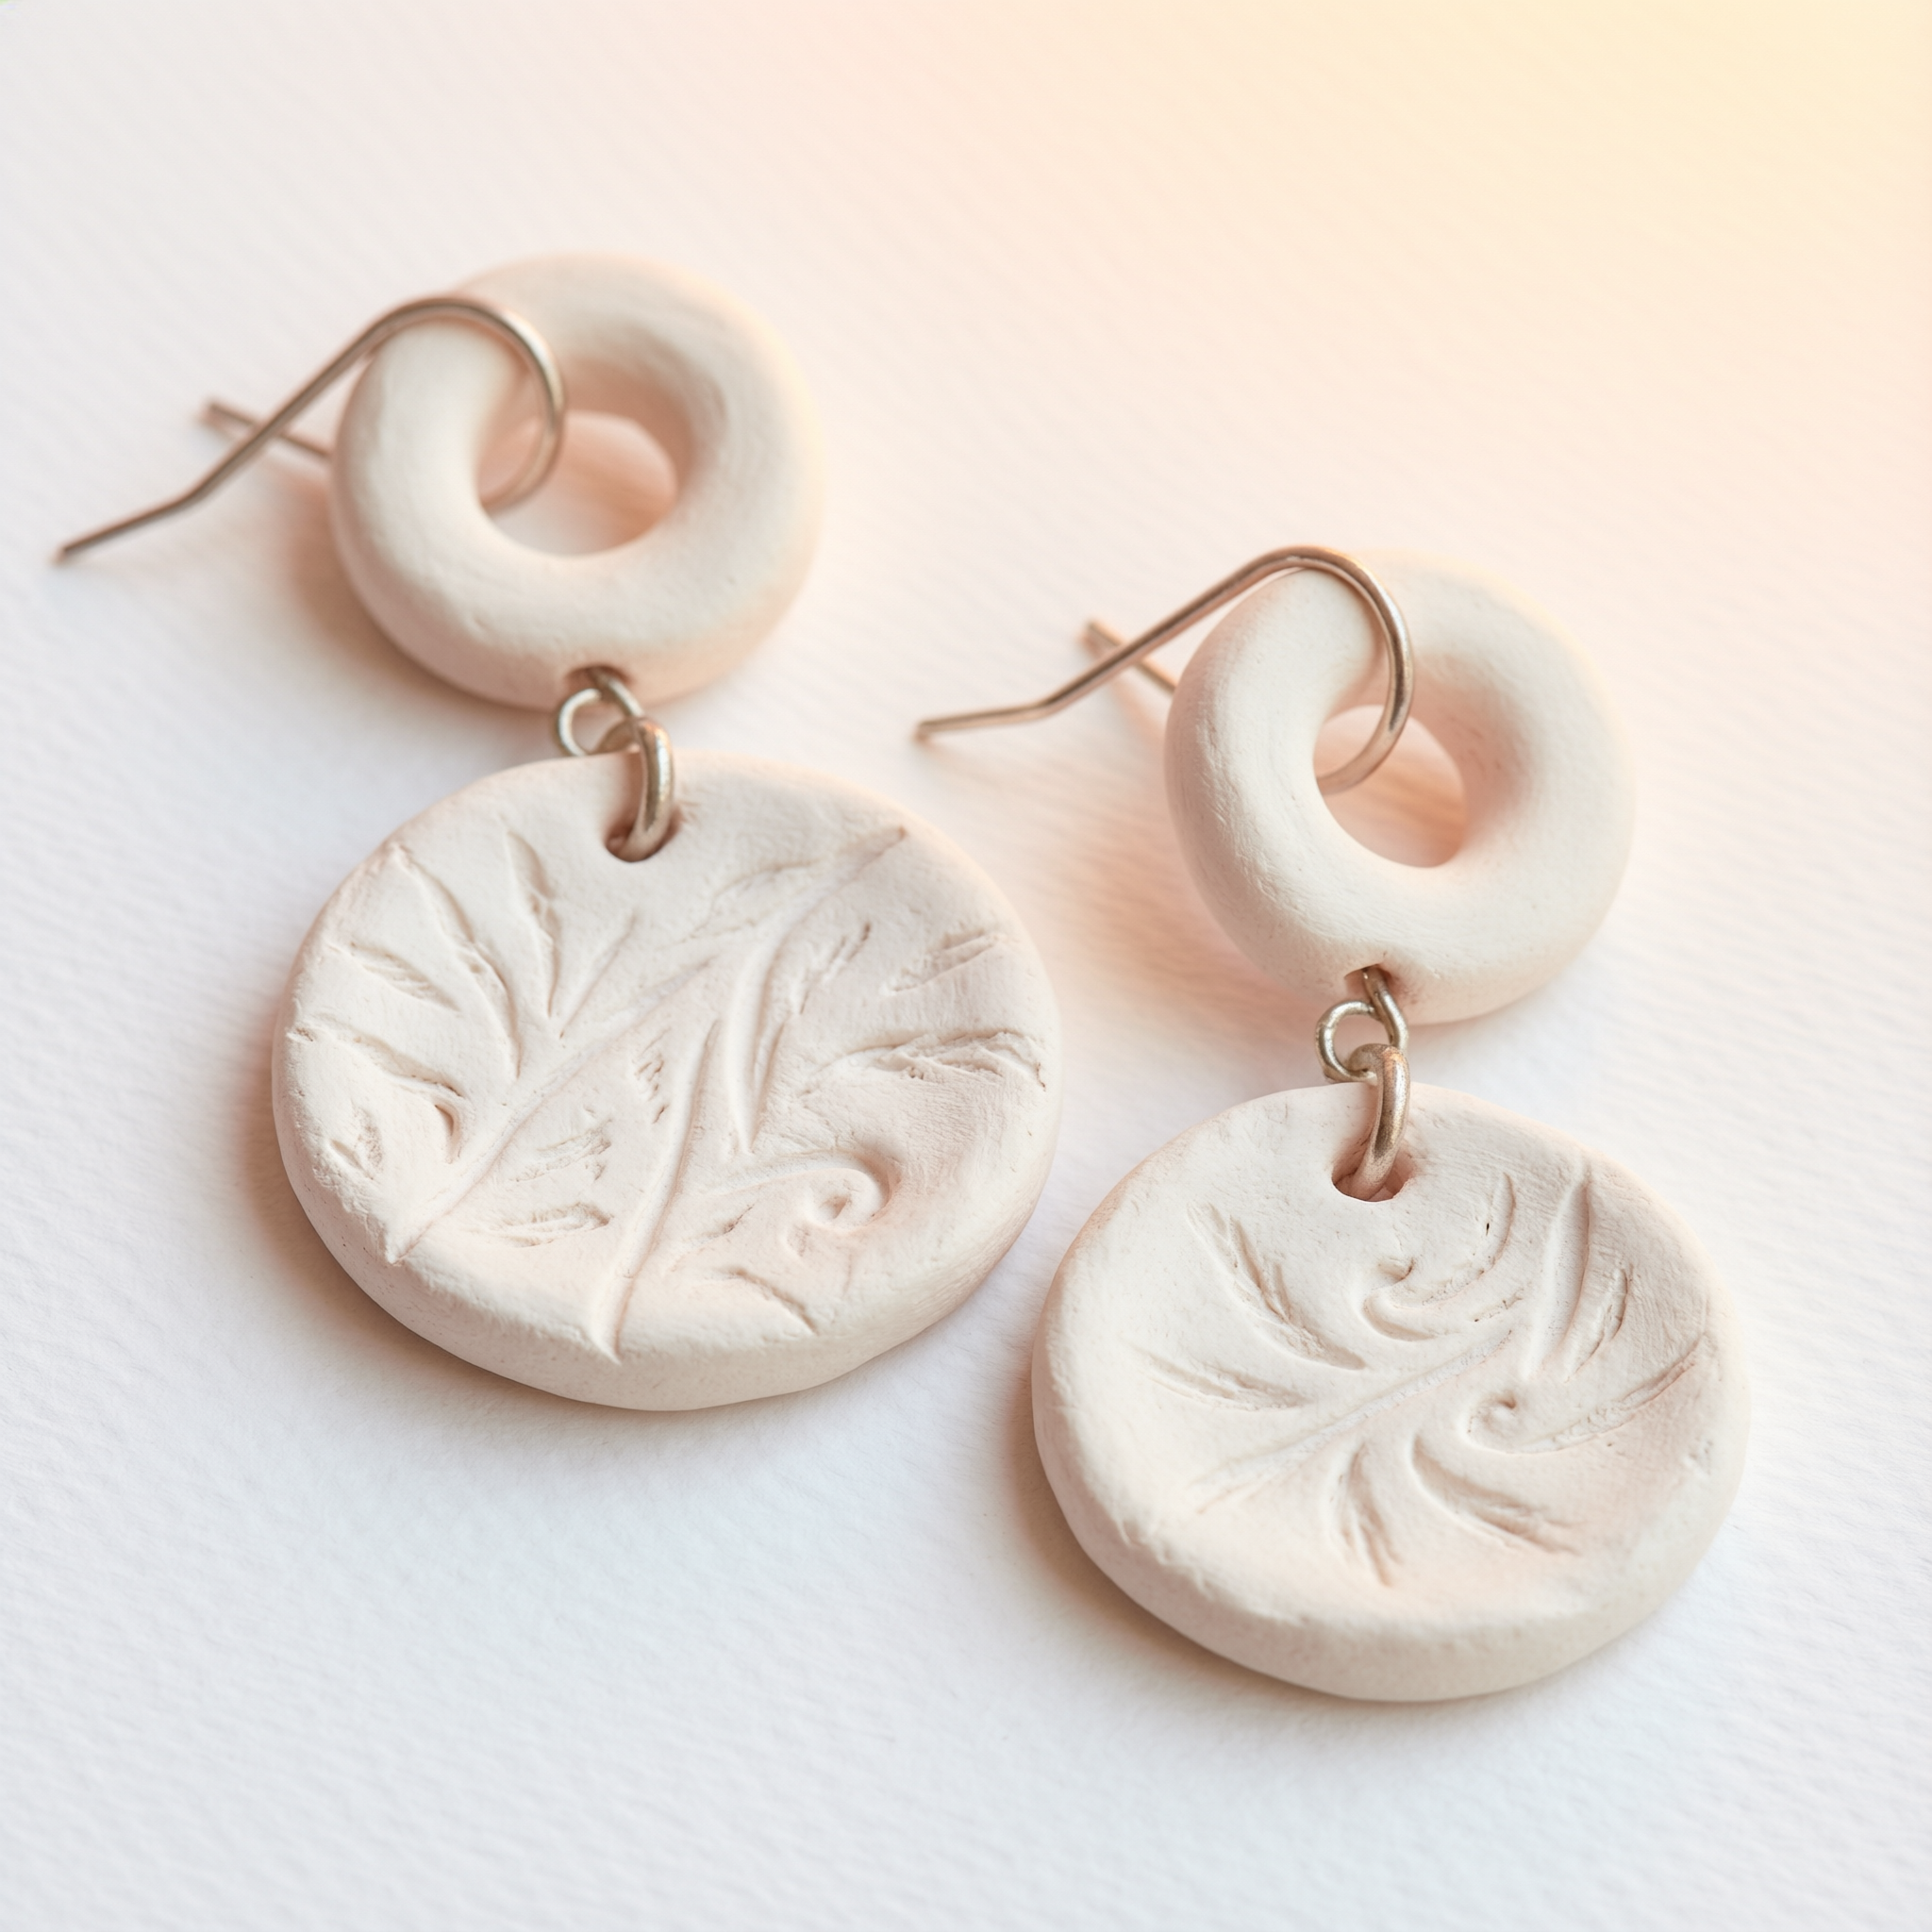
Minimalist doesn’t mean blank. It means *intentional*. A single scored line across a circle. Three evenly spaced dots pressed in with the tip of a toothpick. A whisper of lace imprint along one edge — just enough to catch light, not dominate the shape. Here’s what works: press once, lift straight up, don’t drag. Dragging tears the surface. Also — skip heavy stamps. They compress too much clay and weaken the structure. Instead, try pressing a dried bay leaf into the surface, or folding a scrap of linen and laying it gently over the piece for 30 seconds. That subtle weave pattern? That’s the difference between “handmade” and “I made this in my pajamas and people asked where I bought it.”
Drying and Finishing
Dry flat. On parchment paper. Not cardboard (it absorbs moisture unevenly). Not a towel (it leaves fibers). Not directly on your desk (dust loves fresh clay). Give each piece at least 36 hours — longer if your home runs humid or the piece is thicker than 1/8 inch. Test dryness by tapping lightly: a hollow *tick*, not a dull *thud*. Then sand — gently, in one direction only — just to soften sharp corners and remove any surface fuzz. Paint in thin layers. One coat won’t cover. Two coats might pool. Three? Perfect. Let each dry fully (about 20 minutes) before the next. Seal with two light coats of matte varnish — not one thick one. Thick coats cloud details and yellow over time. Thin ones protect without hiding the work you just did.
Common Questions
Can I use polymer clay instead of air dry clay?
You absolutely can — and many do. Polymer clay holds finer detail and survives daily wear better. But it needs baking (and an oven you’re okay using for crafts), plus it’s pricier per ounce. Air dry clay? No heat, no fumes, no learning curve. It’s why so many people start with air dry clay jewelry before moving to polymer. Think of it as training wheels for modern jewelry design — functional, forgiving, and surprisingly durable when sealed right.
How do I attach the jewelry findings?
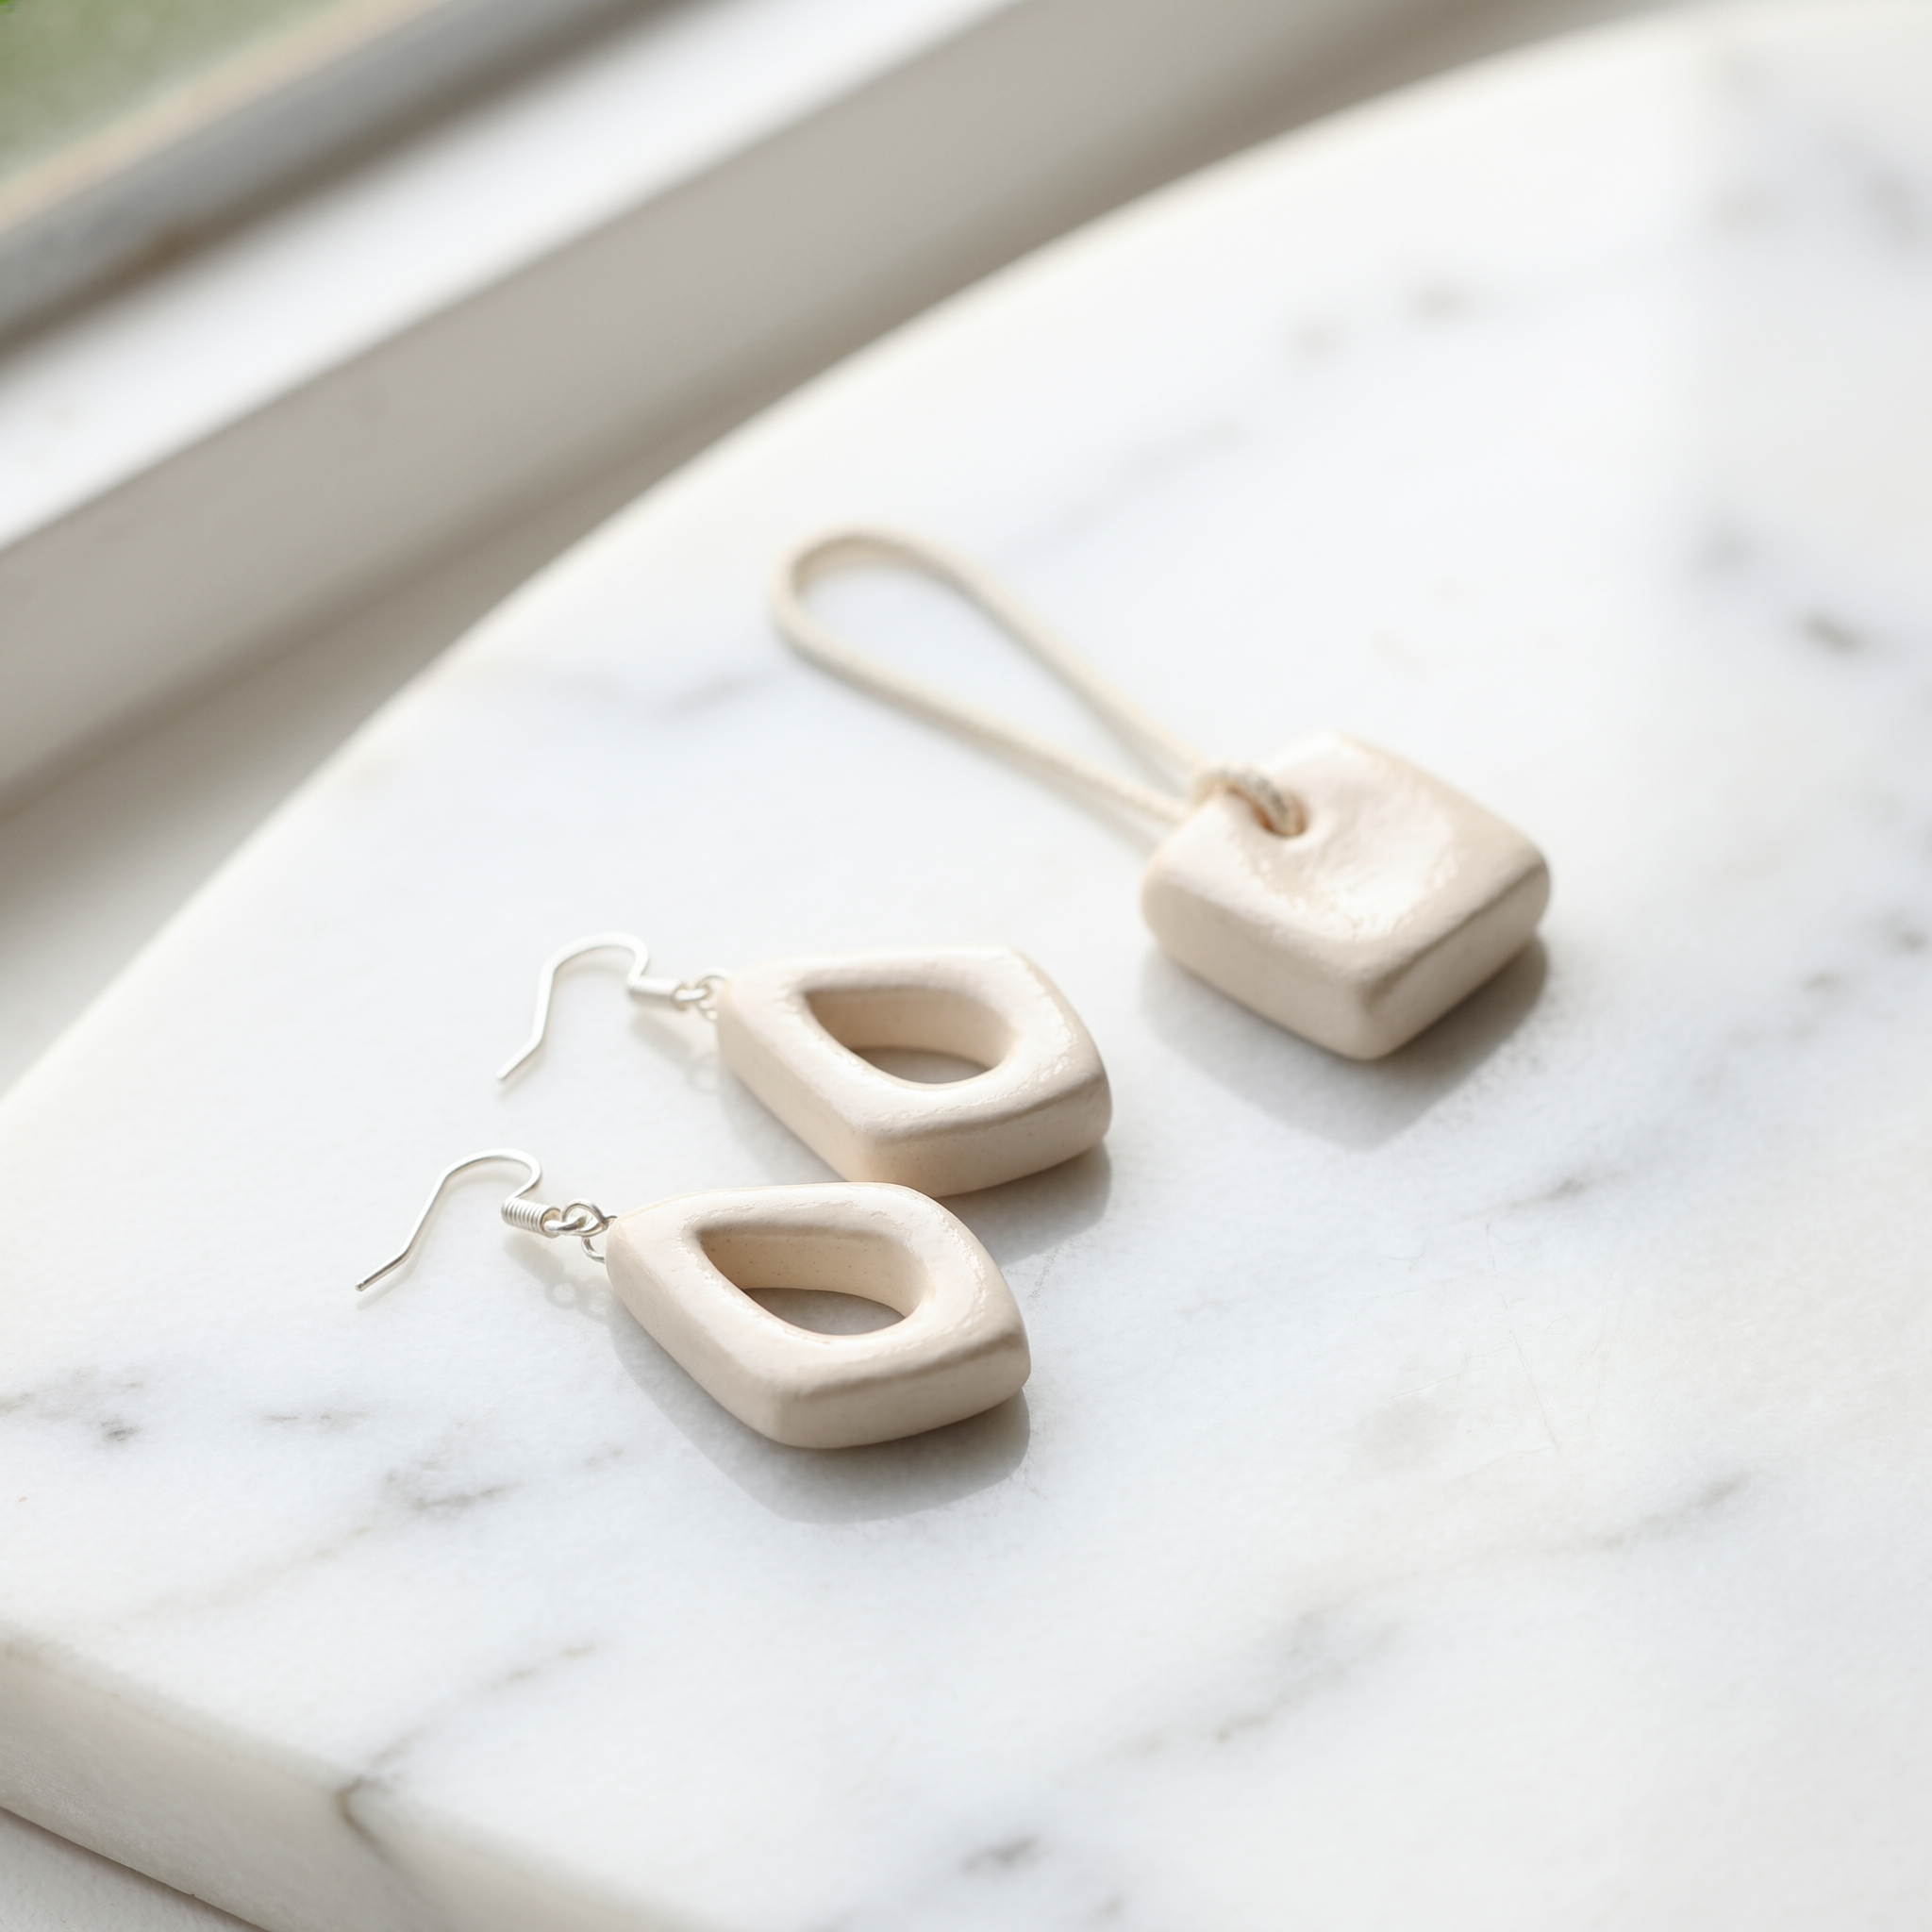
Earring posts: push them straight through the dried, sanded hole — no glue needed *yet*. Then flip the piece and dab a dot of E6000 (not school glue — it fails) on the metal post behind the clay. Hold for 10 seconds. For pendants: open a 4mm jump ring *just enough* to slide it through the hole, then twist sideways to close — never pull it apart like a staple. That twisting motion keeps tension even. And yes, use needle-nose pliers. Your fingernails will slip. Your patience will run out. The pliers? They never complain.
How long will my air dry clay jewelry last?
Real talk: properly sealed air dry clay jewelry lasts 1–3 years with regular wear — longer if you treat it like delicate modern accessories, not indestructible hardware. Avoid showers, swimming, and sleeping in it. Store pieces separately in a soft pouch (not jumbled in a drawer). If the sealant dulls or chips? Light sanding + one fresh coat fixes it. That’s part of the charm — it’s handmade, not mass-produced. It evolves with you.
Final Thoughts
Making air dry clay jewelry isn’t about perfection. It’s about showing up with curiosity, not confidence. About choosing a color that makes you pause. About wearing something you shaped, smoothed, and sealed with your own hands — because handmade gifts aren’t just objects. They’re tiny declarations: *I made space for this. I chose this moment.* So grab that clay. Skip the pressure. Start small. Make one pair of DIY clay earrings. Then another. Then a pendant. Before you know it, you’ll have a stack of modern jewelry design pieces — and maybe even a friend asking, “Wait — you *made* these?” Yes. Yes, you did.