
Mixed Media Collage Art: Combining Hand Lettering and Gel Printing
Most people start mixed media collage art thinking they need a studio full of gear — or at least Pinterest-perfect precision. They don’t. What you actually need is curiosity, ten minutes, and the willingness to let something go slightly wrong. That’s where the best paper collage and abstract art moments happen. This isn’t about replicating someone else’s layout. It’s about building your own visual language — one gel print, one handwritten word, one unexpected texture at a time.
Materials You’ll Need
You don’t need a craft store receipt to get started. A basic gel plate (the 4×6 inch kind works great for beginners), a couple of acrylic paints in colors you actually like — not just “artist’s primary triad” — and a stiff brayer are enough to make five distinct prints before lunch. For hand lettering, grab whatever feels good in your hand: a soft-tip marker for flowy script, a fine liner for tight details, or even a waterbrush dipped in ink if you’re feeling loose. Your “canvas” can be a $5 art journal, a thrifted book cover, or even the back of an old cereal box. And yes — those scraps of vintage wallpaper, dried flower petals, or torn grocery lists? Keep them. That’s how real mixed media tutorial energy begins.
Starting with Gel Printing
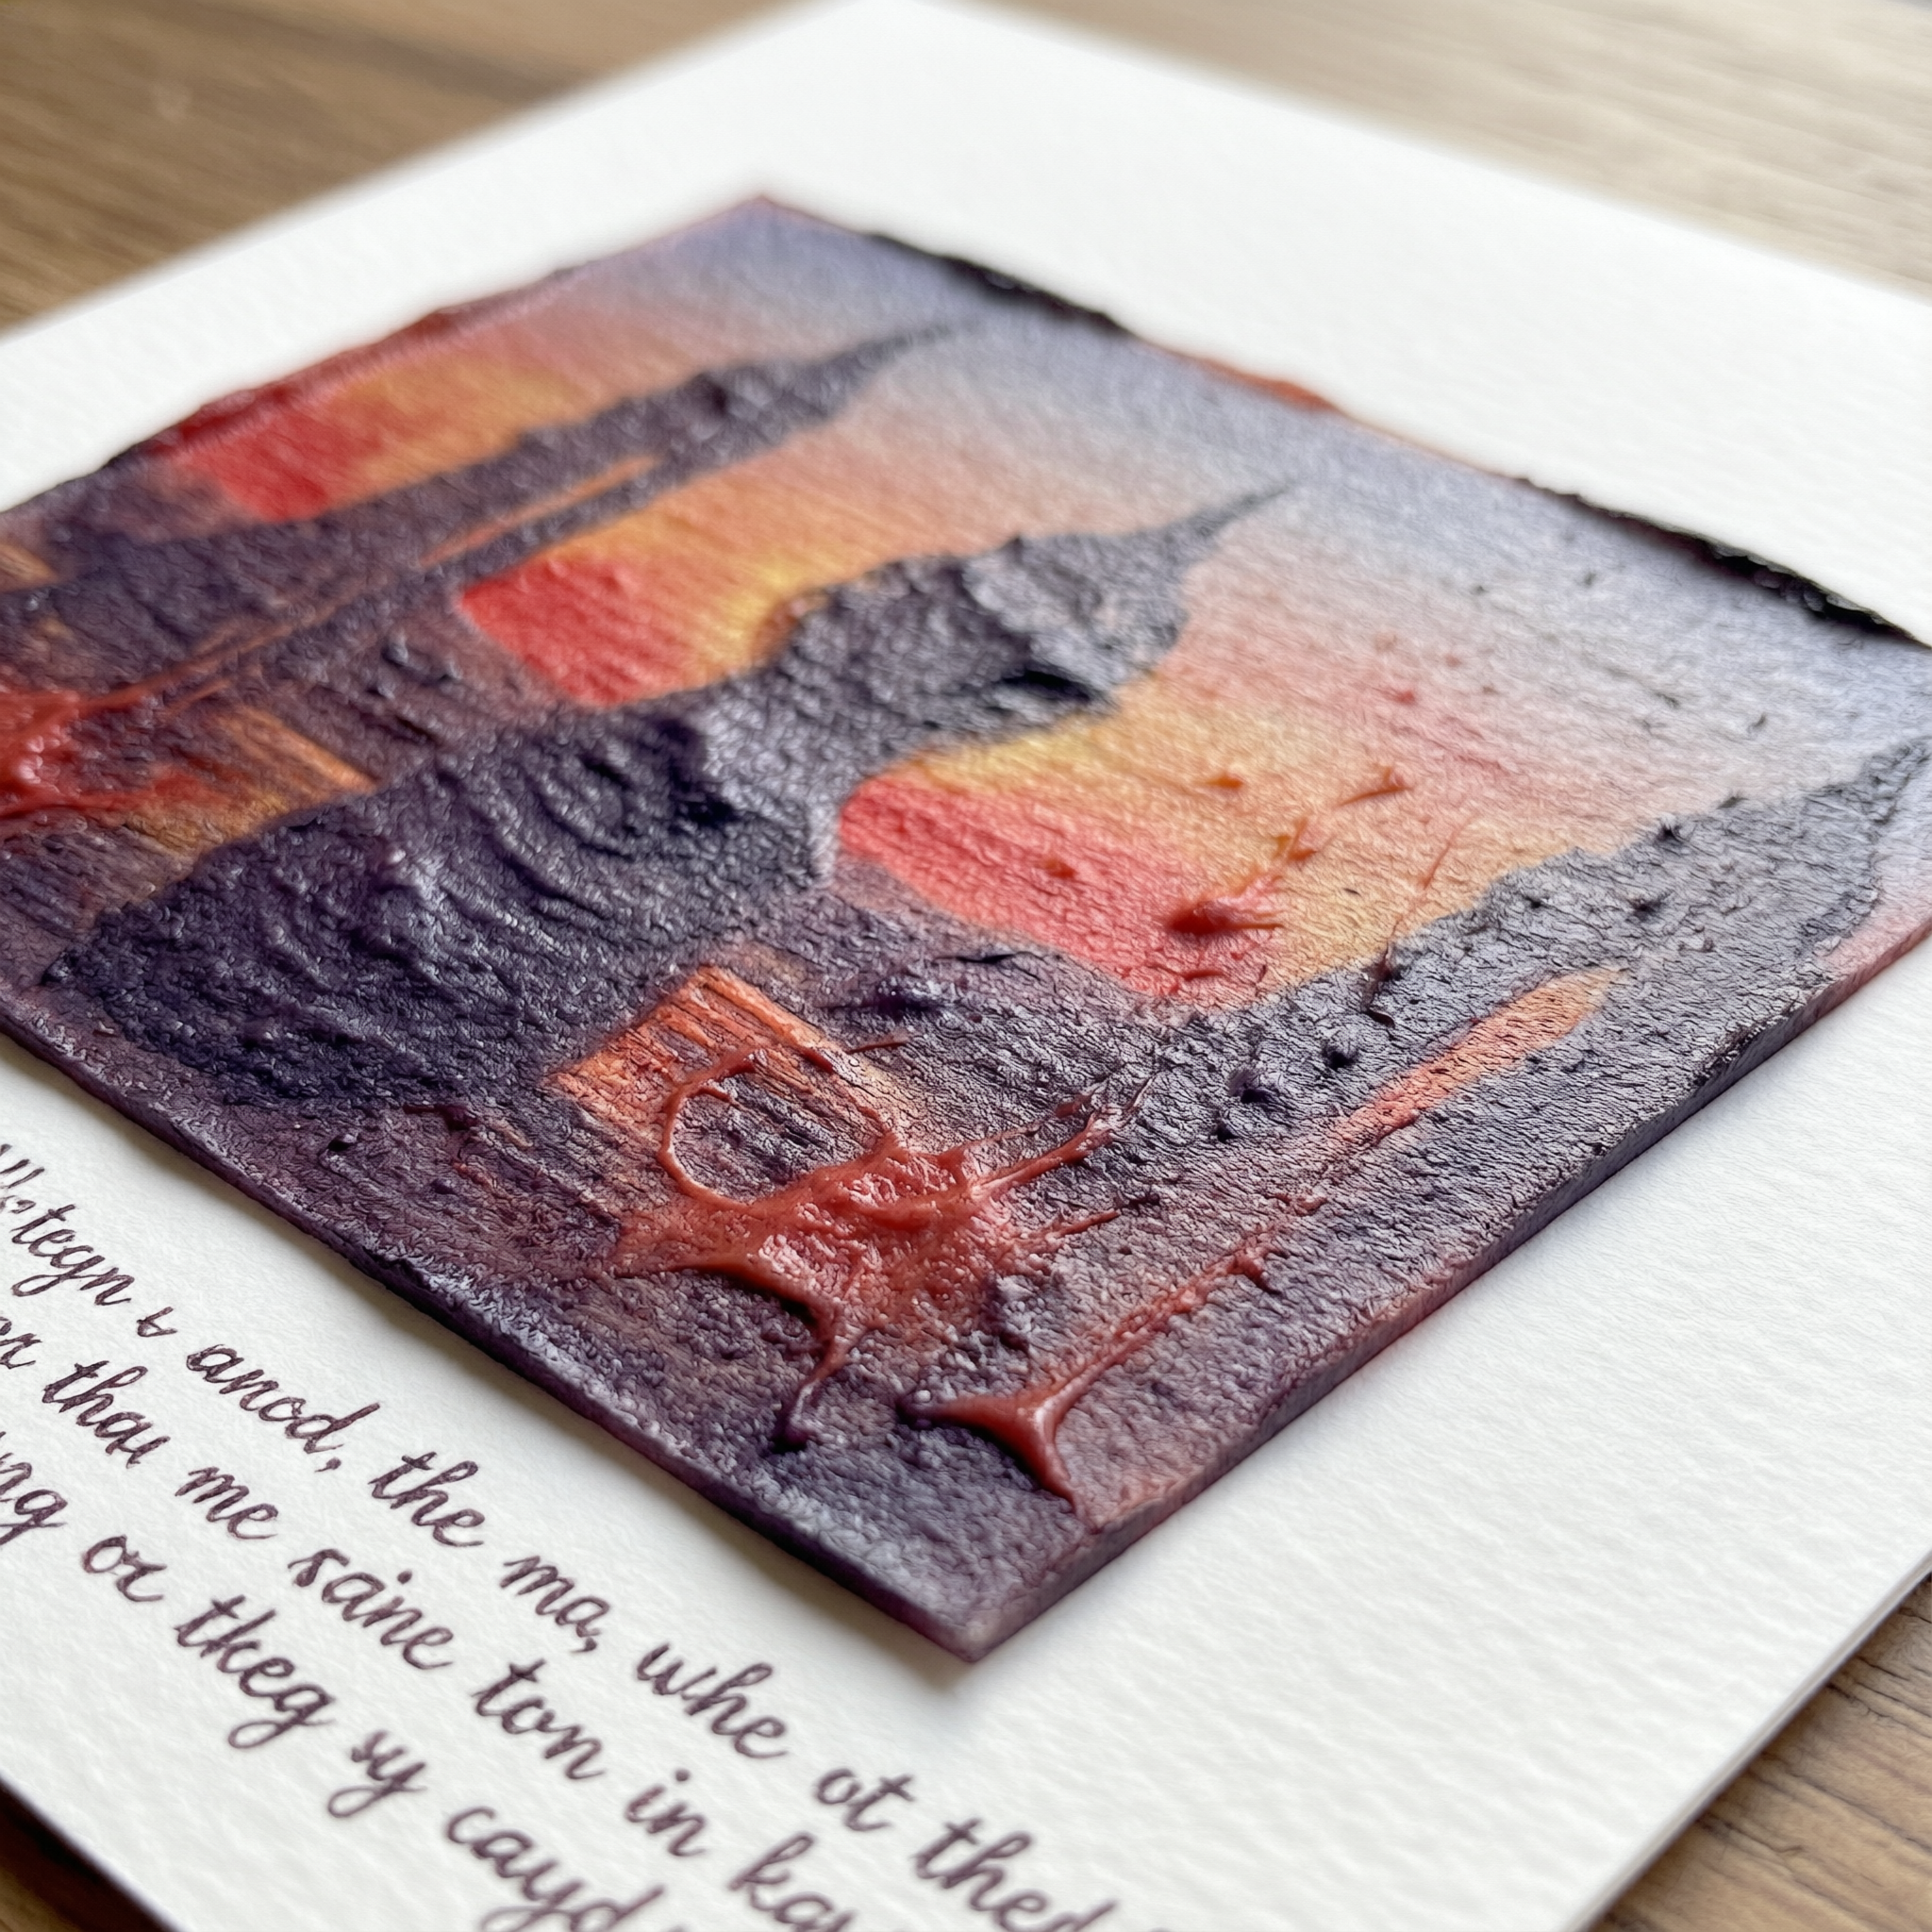
Gel printing isn’t magic — it’s physics with personality. Roll paint on the plate. Press paper down — *not* too hard, *not* too soft. Lift. There’s your first ghost of texture, color, and chance. The real trick? Don’t chase perfection. Try dragging a credit card through wet paint before pressing. Or press crumpled foil onto the plate first, then lift — you’ll get metallic ridges no stencil can replicate. That’s why so many people fall in love with gel printing early on: it rewards play, not planning. And if you’re into art journaling? These prints become instant backgrounds — rich, layered, full of quiet history before you’ve even added a single word.
Adding Hand Lettering
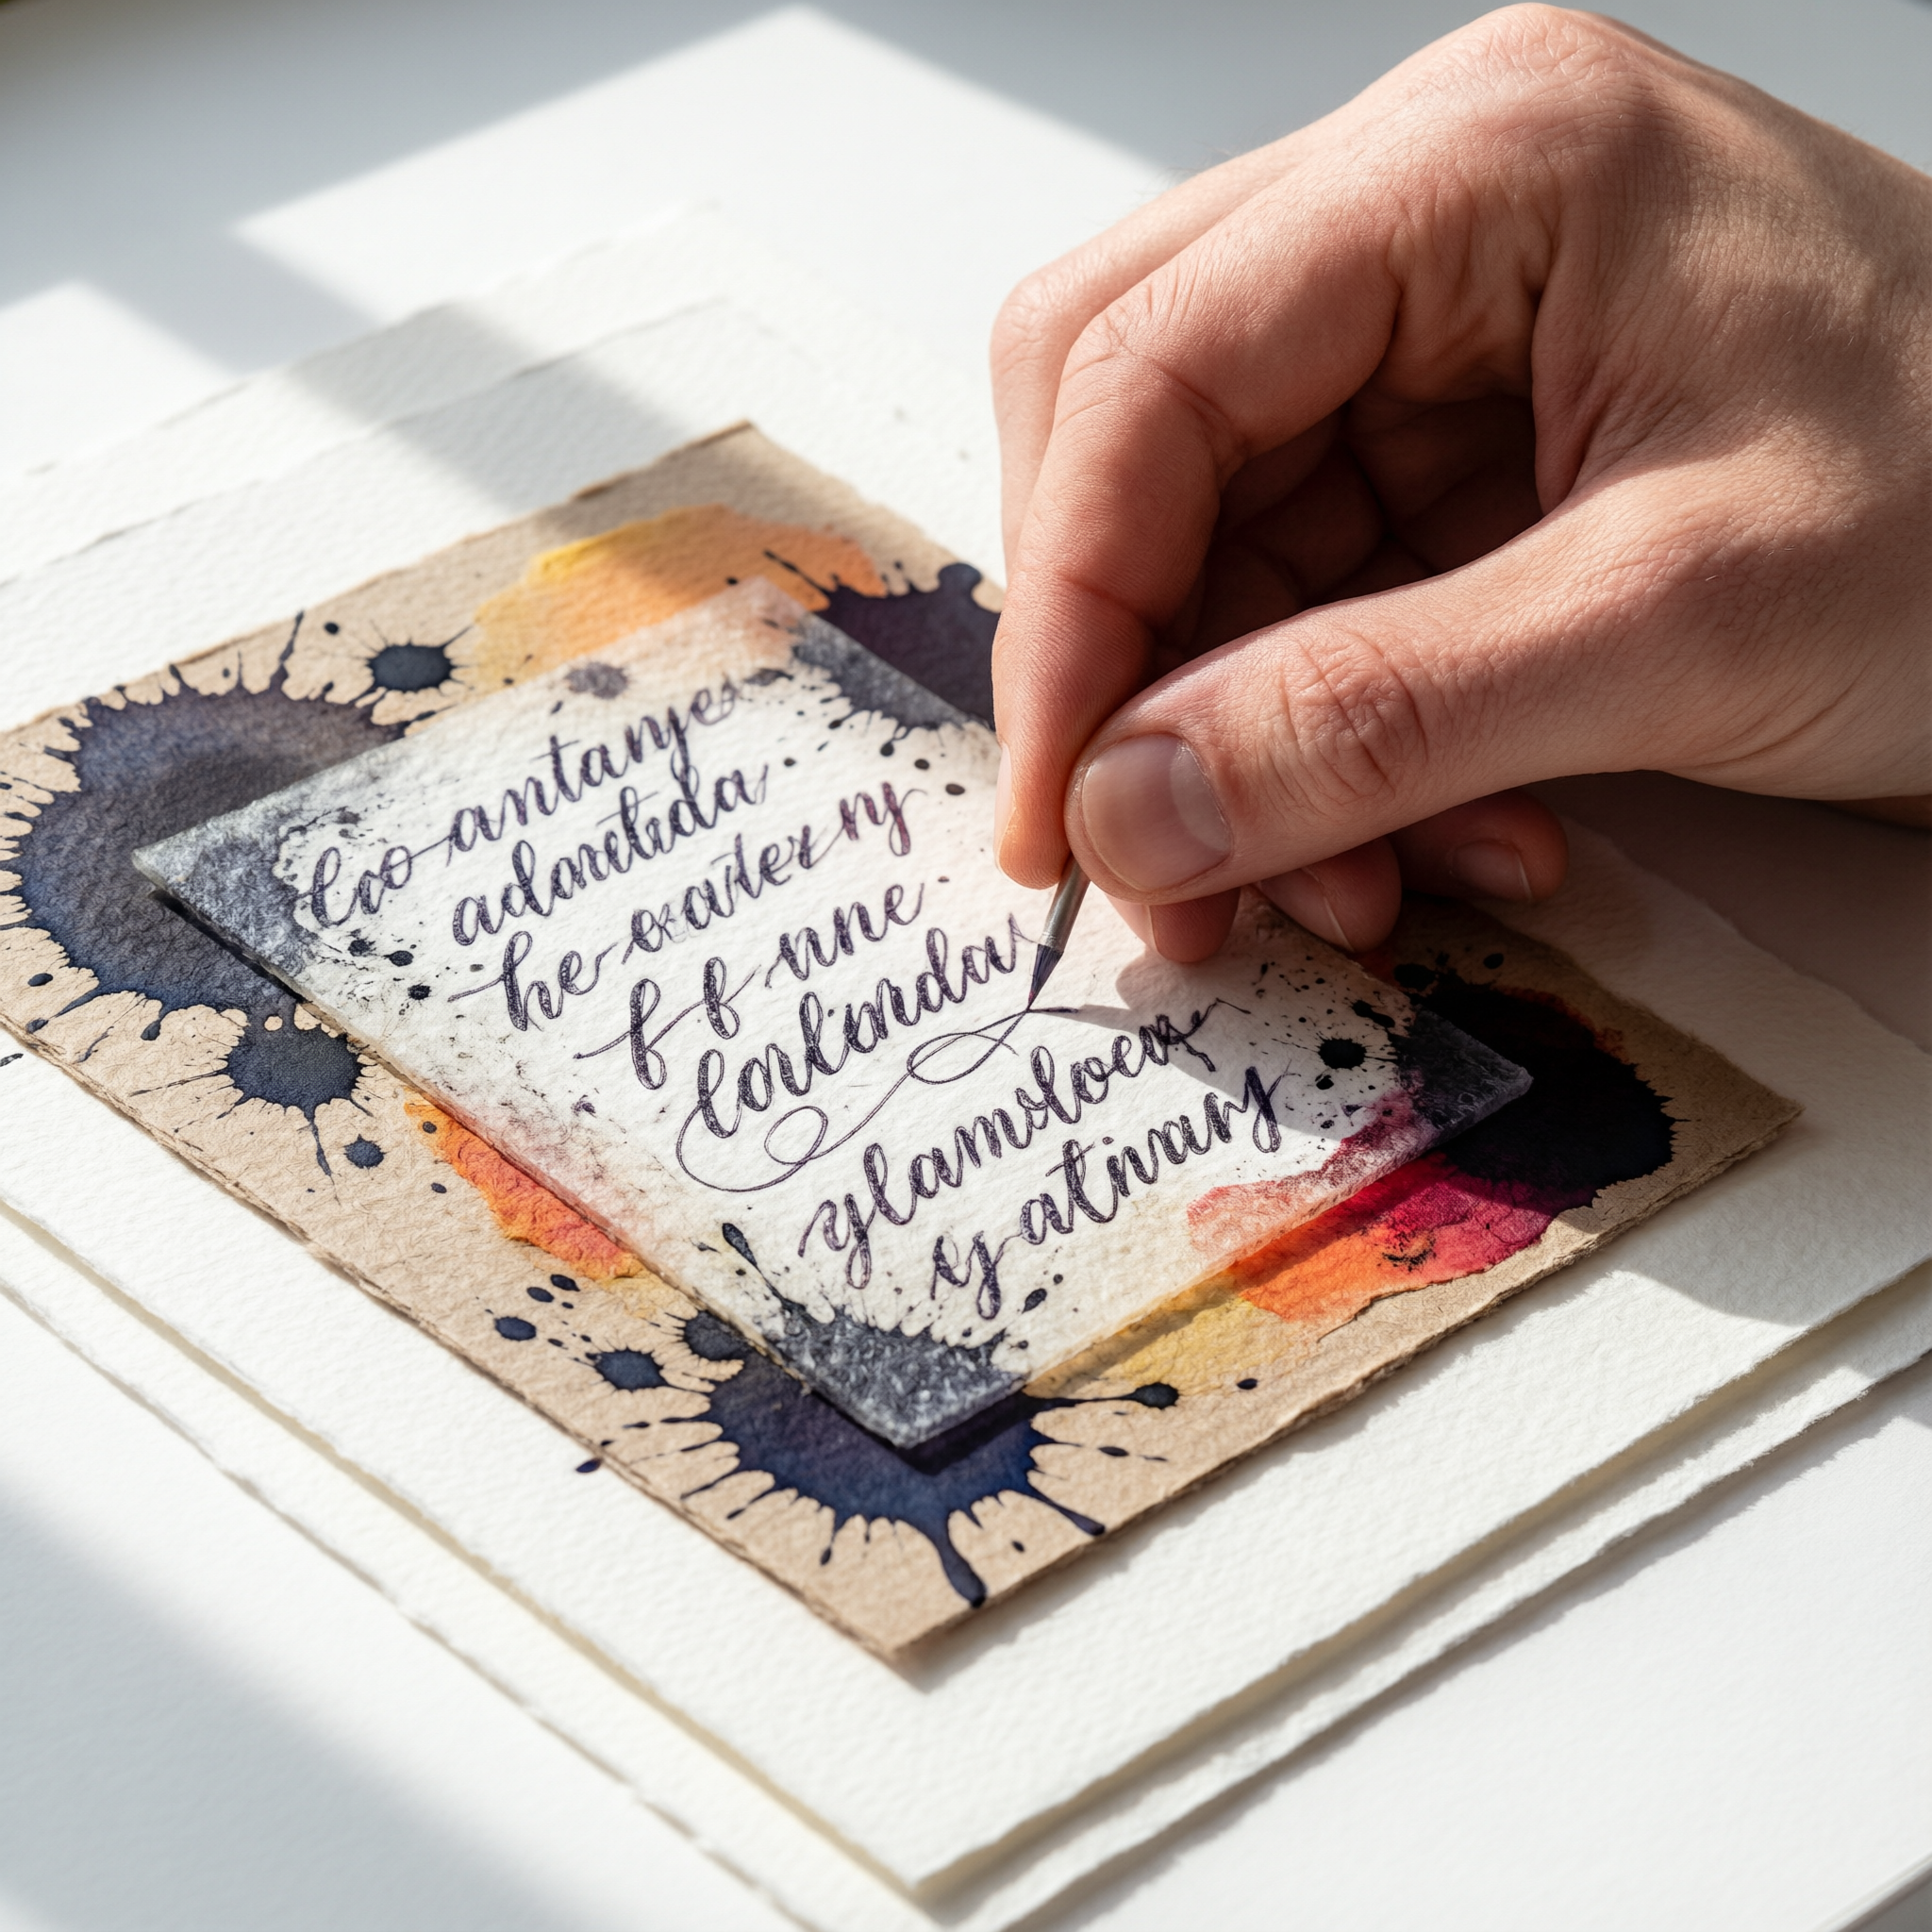
Here’s what most beginner mixed media guides skip: hand lettering doesn’t have to be legible to be powerful. A single repeated shape — a loop, a slash, a dot cluster — can anchor a chaotic composition better than a perfectly kerned quote. Start small: write your name in three different ways on scrap paper. Then try it directly onto a gel print. Notice how the paint texture grabs the ink differently in each spot? That’s not a flaw — that’s the conversation between medium and mark. If you’re working on a larger piece, think of your lettering as punctuation: a bold “YES” in the corner, a whisper of “maybe” bleeding at the edge, or just a rhythmic line of X’s marching across a faded print. That’s how DIY artwork becomes personal.
Putting It All Together
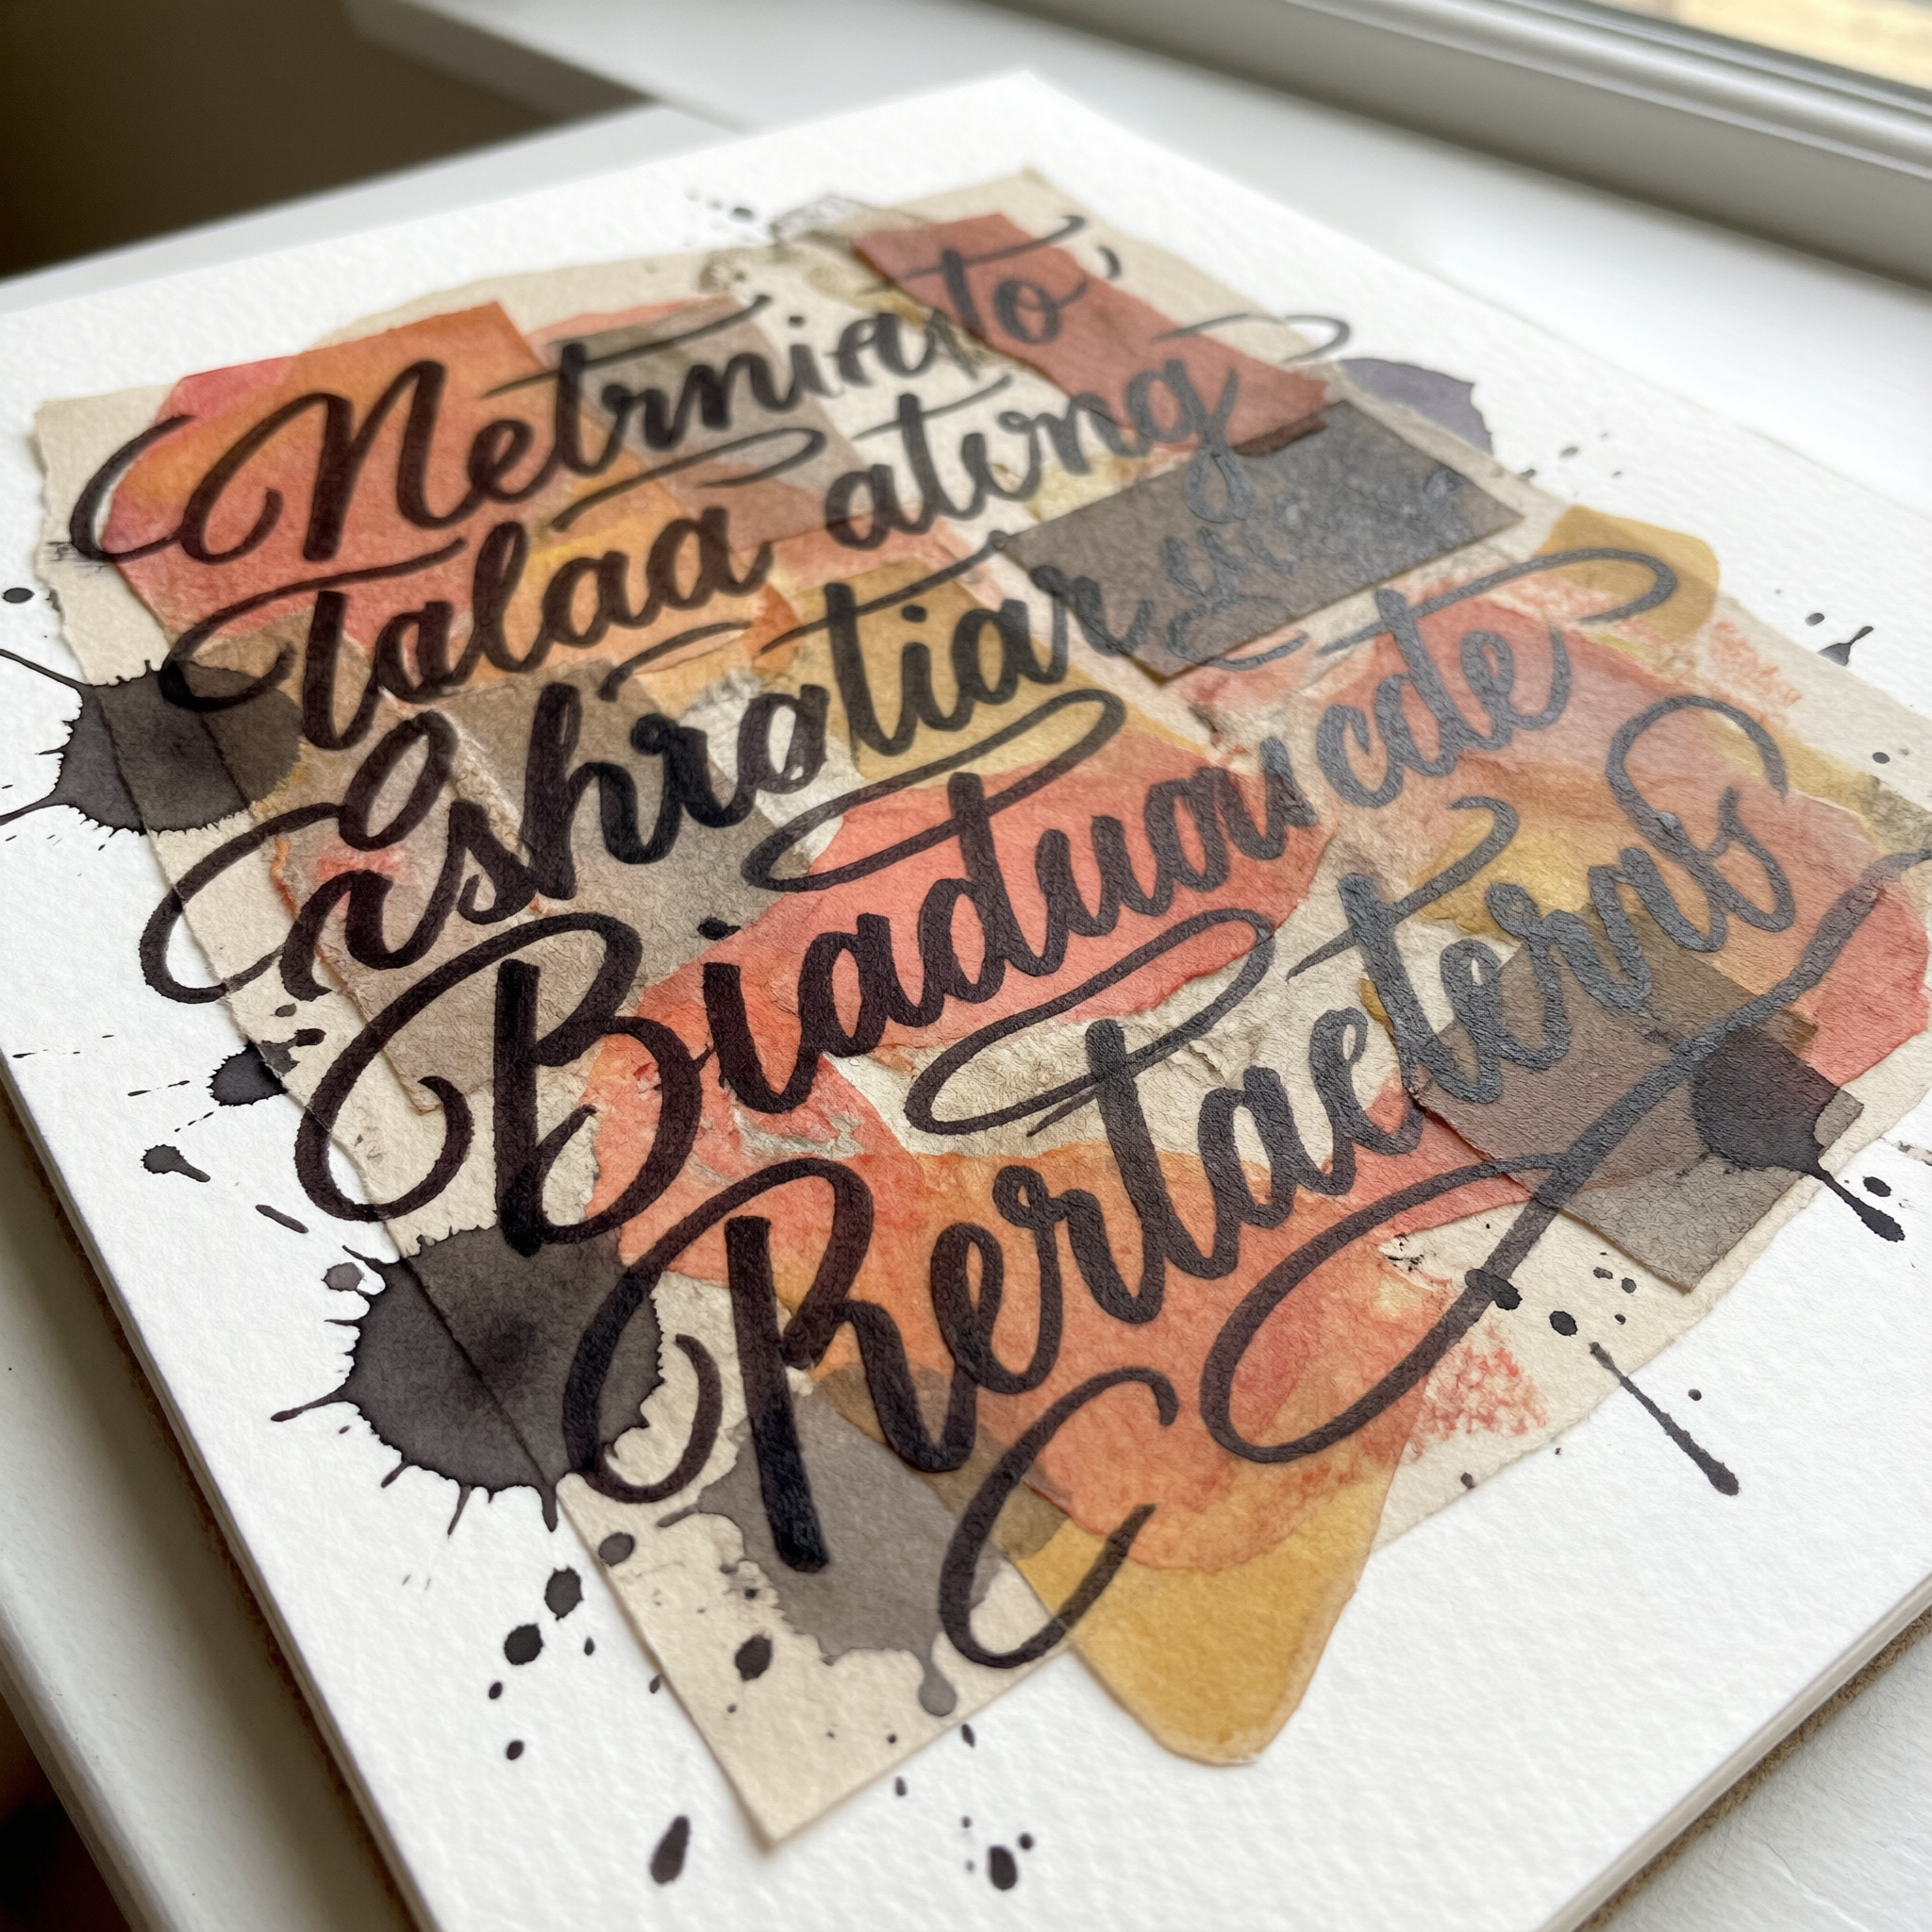
This is where collage art ideas stop being theoretical and start breathing. Cut — don’t measure — your gel prints into rough shapes. Tuck a strip behind a torn edge of handmade paper. Glue a fragment upside-down. Overlap a hand-lettered phrase so half of it disappears under a watercolor wash. You’re not assembling a puzzle. You’re conducting a visual argument: soft vs. sharp, dense vs. empty, quiet vs. loud. And if you’re wondering whether this counts as abstract art? Yes — especially when meaning emerges from gesture, not caption. Bonus tip: keep a small jar of matte medium nearby. It doubles as glue *and* a subtle sealant — no spray varnish needed for early experiments.
Common Questions
Is gel printing suitable for beginners?
It’s practically built for them. Unlike screen printing or lithography, there’s no registration, no drying time between layers, and zero pressure to “get it right.” I’ve watched total newcomers make compelling prints in under seven minutes — using only a sponge, a toothbrush, and leftover paint from their kid’s art bin. The only real rule? Don’t over-bray. Too much pressure = muddy prints. Less is literally more.
Can I use any type of paper for gel printing?
You *can*, but not all papers tell the same story. Printer paper gives crisp lines but buckles fast. Watercolor paper holds pigment beautifully but soaks up detail. My go-to? Strathmore 400 Series Mixed Media — thick enough to handle wet layers, toothy enough to catch texture, and cheap enough that you won’t hesitate to cut it up. Also — try newsprint. Its slight translucency lets underlying layers peek through like memory.
How do I protect my finished collage?
If it’s going in a journal or frame behind glass? Skip the spray. Matte medium brushed on lightly seals ink and paper without yellowing — and it won’t turn your washi tape into a sticky mess. For wall pieces? A single coat of Golden Archival Spray Varnish (matte) does the job — but wait 48 hours after gluing. Rush it, and you’ll lift layers instead of sealing them.
Final Thoughts
Mixed media collage art isn’t about finishing something. It’s about staying in the room with your materials long enough to forget you’re “making art.” That moment when you stop worrying whether it’s “good” and start noticing how the blue paint pools at the edge of the plate — that’s where creative hobbies become lifelines. So grab that half-used tube of Payne’s Gray. Tear a page from last month’s calendar. Write one true sentence in messy letters. You’ve already begun.