
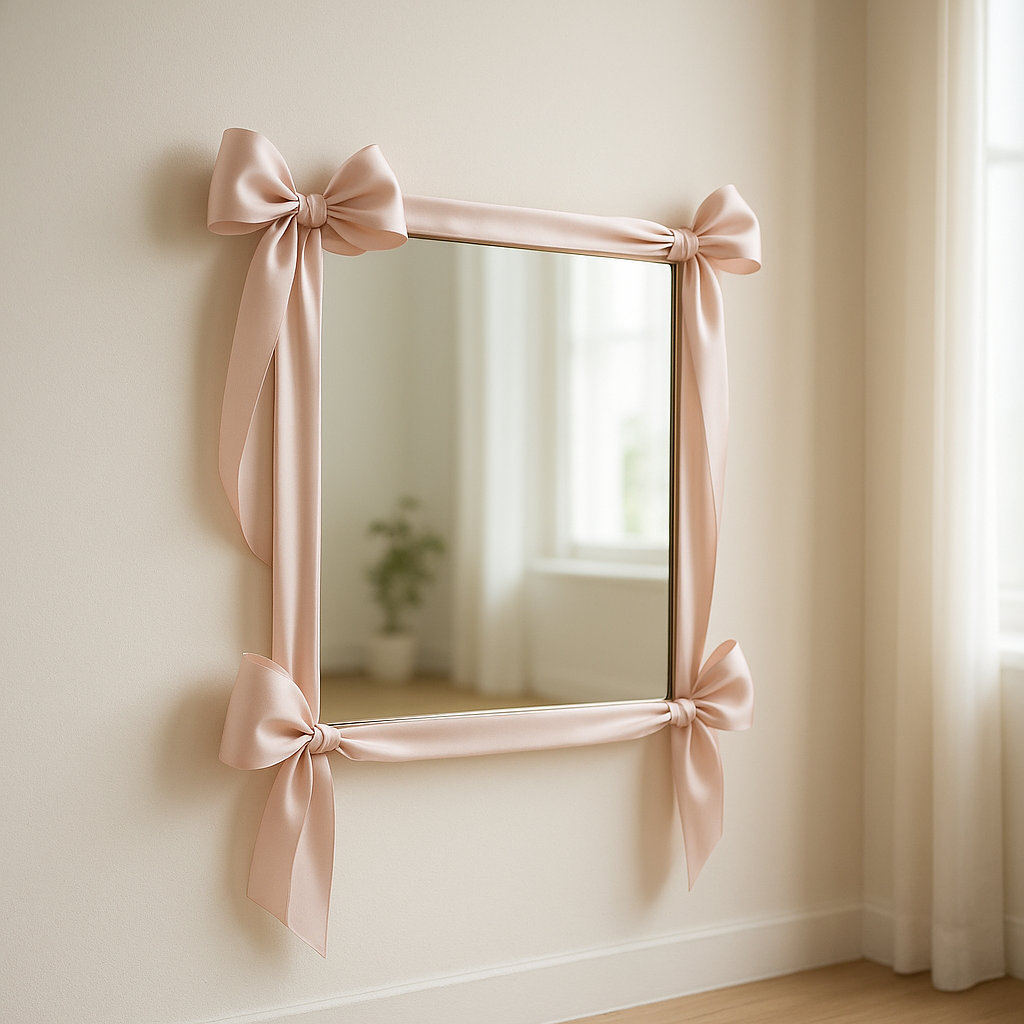
Ribbon-Tied Mirror Frame DIY: Transform a Plain Mirror in 30 Minutes
You know that mirror leaning against your bedroom wall — the one you keep meaning to “do something with”? The one that’s fine, but doesn’t *say* anything about you? Yeah. That one. You don’t need a carpenter or a credit card swipe. A ribbon-tied mirror frame is probably the fastest, cheapest, most forgiving home decor craft I’ve ever tried — and it’s held up through three apartments, two relocations, and one very skeptical cat who tried to lick the glue off.
Materials You’ll Need
- A plain, unframed mirror (any size — even a thrift-store find with chipped edges works)
- Ribbon (10–15 yards is safe for most standard mirrors; go wider if you want drama, narrower if you’re layering)
- Hot glue gun (the kind that heats up in under 90 seconds — no one has time for waiting)
- Scissors (the sharp kind, not the ones you use to open Amazon boxes)
- Measuring tape (optional, but honestly? Worth grabbing. Saves you from that “why does this look crooked?” panic at minute 42)
Step-by-Step Guide
Wipe the mirror down with glass cleaner and a lint-free cloth — seriously, skip this and you’ll spend half your time picking dried glue specks out of smudges. Then measure the perimeter. Not perfectly. Just enough to know whether you’re working with 48 inches or 92. If you’re using 2-inch-wide satin ribbon, you’ll need less yardage than if you’re going for ¼-inch gingham — think of it like wrapping a present: thicker paper = fewer wraps.
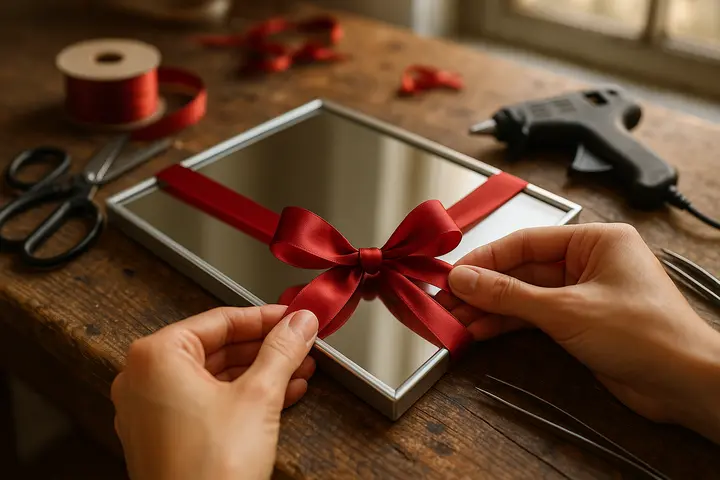
Fire up the glue gun. Start at the top center — not the corner, not the side, *top center*. Drop a pea-sized dab of glue, press the ribbon end into it, hold for five seconds (count them — yes, really), then begin wrapping. Keep gentle tension on the ribbon as you go — not so tight it buckles, not so loose it sags. Glue every inch or so, especially near corners where it wants to lift. When you loop back around, overlap the starting end by about half an inch and seal it with another dot. Trim the tail cleanly.
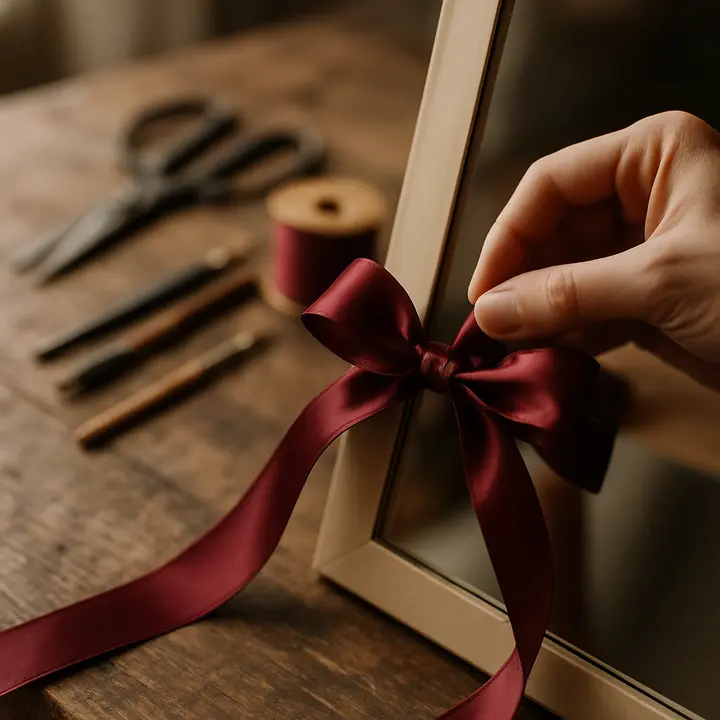
Here’s what nobody tells you: the second layer is where magic happens. Layer ribbons at slightly offset angles — like shingles on a roof — and suddenly your DIY mirror decor goes from “cute” to “wait, did you buy this?” Hide raw ends under new layers for a clean finish, or let them peek out for that effortless boho room decor vibe. Either way, it’s not wrong. It’s just yours.
Choosing the Right Ribbon
Your ribbon choice isn’t just about color — it’s about *personality*. Satin screams “I host dinner parties and iron my napkins.” Velvet whispers “moody reading nook, candlelight, deep thoughts.” Cotton prints (think tiny florals or retro geometrics) add instant warmth — perfect for a sunlit bathroom or entryway. And burlap? Yes, really. Paired with twine and a few dried lavender sprigs tucked in, it turns a basic mirror into a farmhouse staple. What matters most is how it feels in your hand — if it slips, frays, or resists bending, swap it. This isn’t about perfection. It’s about what makes you pause and say, “Oh. That’s *it*.”
Customizing Your Mirror
Once the base frame is done, treat it like a blank canvas — not a finished product. Tie a fat bow at the top center and let the tails drape down 6 inches. Or do three smaller bows spaced evenly across the bottom edge. Try mixing widths: a 1.5-inch velvet base + a thin lace overlay + a single metallic thread woven through. Add wooden beads every 4 inches. Tuck in pressed flowers between layers (just make sure they’re fully dry — damp petals + hot glue = sad, sticky surprise).
What I love most about this project? It’s reversible. No nails, no paint, no commitment. Peel it off when your aesthetic shifts — which, let’s be honest, happens faster than we admit. One afternoon, a mirror is beige background noise. The next, it’s the first thing people notice when they walk in. That’s the power of a well-placed ribbon-tied mirror frame.
Common Questions
How long does this project take?
Thirty-eight minutes — that’s how long mine took last week, start to finish, including coffee breaks and one detour to dig out better scissors. Smaller mirrors? Closer to 20. Larger ones with multiple layers? Maybe 75. But even then, it’s still faster than scrolling through Pinterest trying to decide what *else* to try.
Can I use any type of ribbon?
You can — but some fight back. Polyester satin glides like butter. Cotton webbing holds its shape like a champ. Cheap polyester grosgrain? It curls, frays, and refuses to lie flat unless you glue it every half-inch. My rule: if it bends smoothly around your finger without kinking, it’ll work. If it fights you, put it back and grab something else. Life’s too short for stubborn ribbon.
Is this project suitable for beginners?
Yes — and I say that as someone who once glued her thumb to a cereal box. No measuring precision required. No sewing. No cutting angles. Just glue, wrap, repeat. If you’ve ever wrapped a gift or tied your shoes, you’ve got the muscle memory. Worst case? You peel it off and try again with a different color. That’s not failure — that’s editing.
Final Thoughts
This isn’t just a mirror makeover. It’s proof that small, intentional choices — a ribbon, a color, a texture — change how a room *feels*. Not “Instagram-perfect,” but *yours*. It costs less than a takeout meal, takes less time than folding laundry, and delivers more joy per square inch than almost any other budget home makeover I know. So grab that mirror, dig out the ribbon stash, and stop waiting for “someday.” Someday is now — and it’s wrapped in satin.