

Paper Flower Wall Installations: Full Tutorial for Home or Events
You’ve seen them everywhere — that dreamy, oversized paper flower wall behind a bride’s first kiss, or hanging above a coffee bar at a local maker fair. But here’s what nobody tells you: building one isn’t magic. It’s glue, patience, and knowing when to stop layering petals before your fingers cramp up. And yes — it works just as well in your living room as it does at a wedding backdrop.
Materials You’ll Need
Don’t go buying ten different kinds of paper yet. Start simple. What actually gets used — and reused — is this shortlist:
- Cardstock (65–110 lb) for crisp, structured blooms — think giant paper flowers with defined edges
- Crepe paper (180 gsm or higher) if you want soft ruffles, drape, and movement (this is where DIY paper flowers earn their reputation)
- A decent hot glue gun — not the dollar-store kind. You’ll be firing off hundreds of dabs. A dual-temp model saves your fingertips from burns and your petals from warping
- Sharp, small-blade scissors — the kind that pivot like a surgeon’s scalpel. Craft knives work too, but only if you’re comfortable with steady pressure
- Floral wire (22-gauge), wooden skewers, or even sturdy bamboo sticks for stems — especially if you plan to hang or mount individual pieces later
- A base: 3/16″ foam board (not cardboard) holds up better over time. For larger walls, go with 1/2″ rigid insulation board — it’s lighter than plywood and takes glue like a champ
- Stencils? Optional — but honestly, they cut setup time by half. I keep a set of laser-cut petal templates taped to my desk. Worth every penny.
Choosing the Right Paper
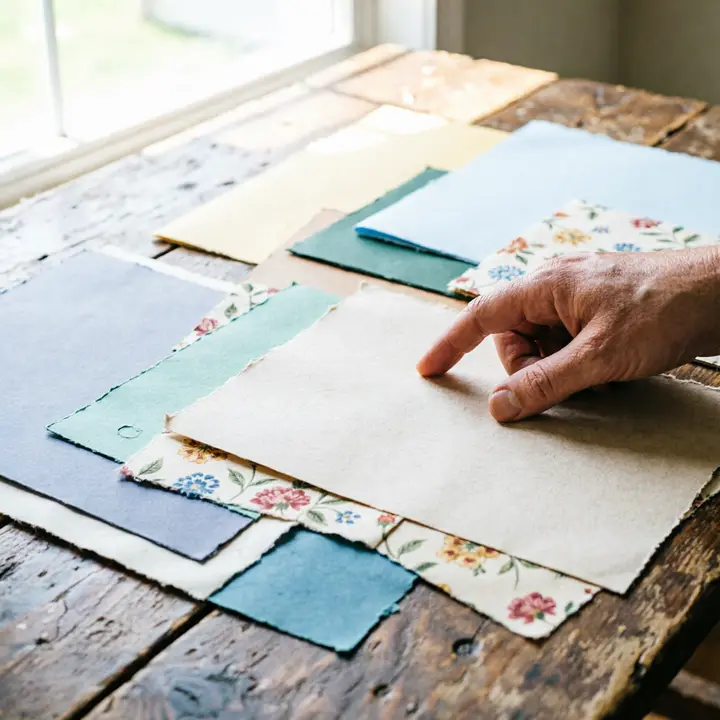
Here’s the truth about paper: it’s not just texture. It’s memory. Cardstock remembers its fold — which is why it holds tight curls and sharp points. Crepe paper remembers *your hands*. Stretch it wrong, and it fights back. Pull it right, and it blooms like something alive. For event decoration that lasts more than one weekend? Cardstock wins. For home decor with soul — soft folds, subtle shadows, petals that catch light differently each hour? That’s crepe paper’s lane. And don’t skip testing: hold both up to a lamp. See how the light bleeds through? That tells you exactly how “airy” your final flower wall will feel.
Creating the Flowers
This is where most people stall — staring at a pile of cut circles, wondering how on earth they become peonies. So let’s fix that. Skip the perfection trap. Real flower walls thrive on variation: some blooms tight and compact, others loose and layered like they just caught a breeze. Start with five-petal bases — easiest to build symmetry around. Glue one layer, wait three seconds, add the next slightly offset. No need to press hard — just enough so the glue sets before gravity pulls it down. And curl those edges? Don’t use a pencil. Roll the petal *around* your pinky finger — tighter roll = tighter curl. Looser roll = softer drape. Your hand *is* the tool. Also — keep a damp cloth nearby. Hot glue strings? Wipe them *before* they cool. Once set, they’re permanent.

Assembling the Wall
Lay out your foam board on the floor — not the table. Seriously. You’ll move around it, step back, squint, adjust. Tape the corners down so it doesn’t slide when you lean in. Now, forget “symmetry.” Build rhythm instead. Place three large blooms first — top center, lower left, lower right. Then fill in with medium ones, then small filler blooms and buds. Leave breathing room. A crowded wall looks busy, not lush. Use floral wire to anchor heavier flowers — poke it through the back of the board and twist the ends flat underneath. And if you’re doing a flower wall backdrop for a photo zone? Hang it *before* attaching everything. Tape it to the wall with painter’s tape, then glue from behind. Lets you see spacing in real context — no guessing.

Final Touches and Maintenance
Greenery changes everything. Not plastic vines — real-looking eucalyptus or olive leaves cut from cardstock, backed with thin wire so they bend naturally. Tuck them between blooms, not under them. Let them spill *out*, not just fill gaps. As for upkeep: avoid direct sun (fades crepe fast), skip humid basements (cardstock buckles), and never hang near HVAC vents — dry air cracks glue faster than you’d believe. If a bloom sags after six months? Peel it off gently — most glue lifts cleanly from foam board — and replace it with a fresh one. Think of your paper flower wall like a living thing: it evolves. You tweak it. You refresh it. That’s part of the charm.
Common Questions
How long does it take to make a paper flower wall?
About 25–35 hours for a 4′ x 6′ wall — assuming you’re making 60–80 blooms, mostly medium size, with some large focal flowers. First-timers often underestimate the drying time between layers. Set a timer: 90 seconds per glued layer. Rush it, and you’ll spend twice as long fixing droops.
Can I reuse the flowers for another event?
Yes — and most do. Store them flat in shallow boxes lined with tissue, away from dust and light. No stacking heavy items on top. When reusing, check glue points first: if they’re brittle or cracked, add a fresh dab before reattaching. Bonus tip: label boxes by bloom type (“peonies – blush,” “ranunculus – cream”) so you can rebuild faster next time.
What if I don’t have a steady hand for cutting?
Then skip freehand entirely. Use a Cricut or Silhouette machine — even the entry-level models handle intricate petal cuts flawlessly. Or buy pre-cut kits (search “DIY paper flowers bulk pack”). Saves hours, and honestly? Most guests won’t know the difference. What they *will* notice is how full and intentional the wall feels — not how perfectly each petal was snipped.
Final Thoughts
A paper flower wall isn’t decoration. It’s punctuation. It says *this space matters*. Whether you’re building a wedding backdrop that’ll live on in photos for decades, or a seasonal home decor accent that shifts with the light in your dining nook — it’s yours to shape. No rules. No gatekeepers. Just paper, glue, and the quiet satisfaction of watching something handmade take up space — beautifully, boldly, unapologetically.