
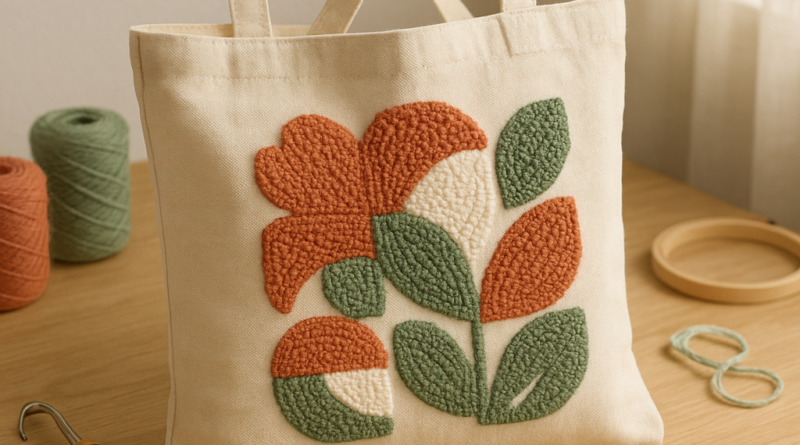
Punch Needle Tote Bags: Easy Weekend Project With Step-by-Step Guide
You’ve probably seen those gorgeous punch needle tote bags on Instagram — thick, plush, almost sculptural. The kind that look like they belong in a gallery, not the grocery store. Here’s the secret: you don’t need a studio or six months of practice to make one. Just two focused afternoons, some wool yarn, and a willingness to treat your tote like a canvas (which, honestly, it is).
Materials You’ll Need
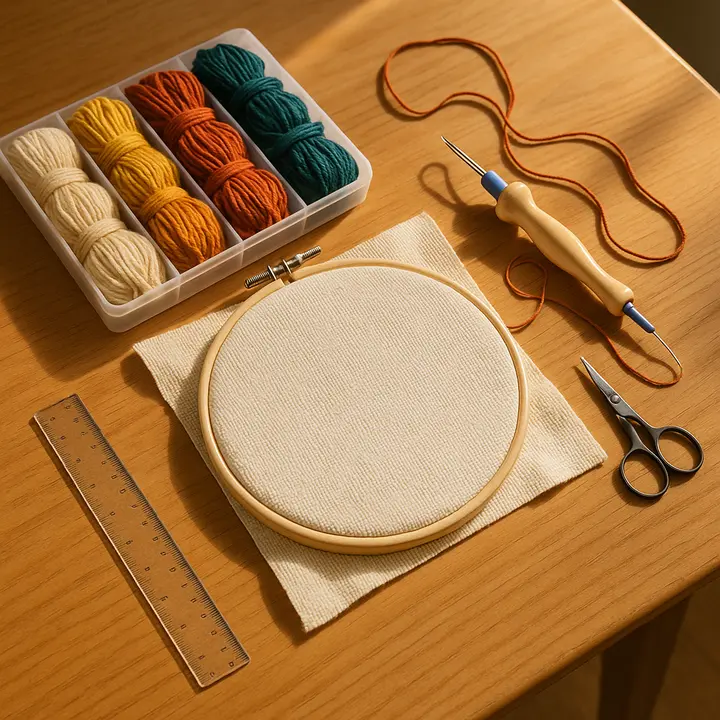
Forget “craft supply haul” energy. You only need five things to get started: a medium-gauge punch needle (the kind with the adjustable depth dial), worsted-weight wool or cotton yarn (not embroidery floss — too thin), a fat quarter of 10-oz natural canvas (not duck cloth — it’s too stiff), lightweight fusible interfacing (the kind that feels like parchment paper), and a water-soluble fabric marker. Skip the fancy hoop if you’re tight on budget — a $6 wooden embroidery hoop works fine. And yes, use sharp, *fabric-specific* scissors. Kitchen shears will wreck your edges.
Choosing the Right Fabric
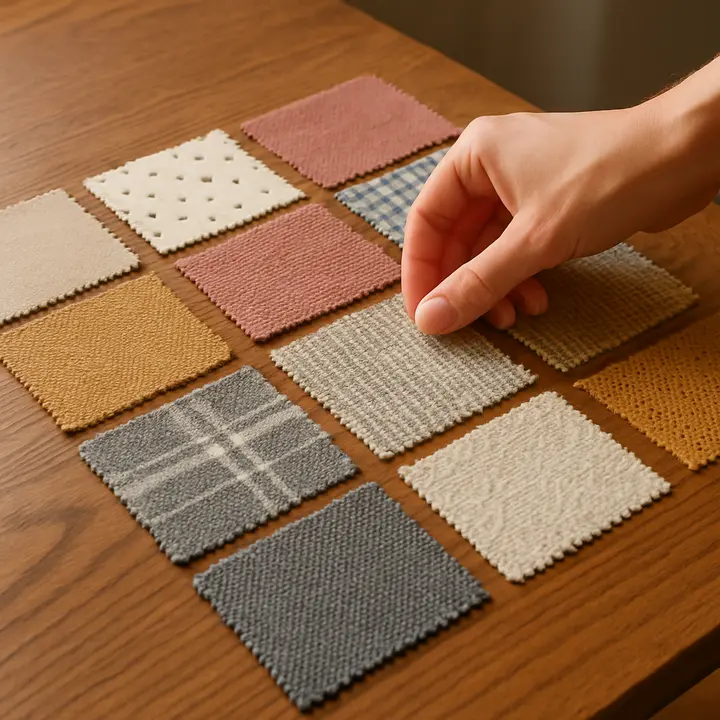
Canvas isn’t just *a* choice — it’s the reason this whole thing holds up. I tested seven fabrics over three weekends. Linen frayed at the edges by Day Two. Cotton poplin stretched out and lost stitch definition. Even denim sagged under dense embroidery. But 10-oz natural canvas? It stays taut, grips the yarn loops like glue, and gives your finished bag that satisfying, structured drape. Think of it as the foundation of a house — skip it, and everything wobbles. Bonus: it’s washable, durable, and looks better the more you use it (hello, soft patina).
Selecting Your Design
Start small — but not *too* small. A single leaf, a tiny sunburst, or a bold diagonal stripe across one panel? Perfect. What doesn’t work? Anything with tight corners, fine lines under ¼ inch, or overlapping shapes. Punch needle isn’t drawing — it’s building texture, row by row. So pick a design where negative space does half the work. I sketched mine freehand on scrap paper first, then traced it onto the canvas with a blue water-soluble pen (the kind that vanishes completely with a damp cloth). No stencils needed. If you’re hunting for beginner-friendly punch needle patterns, try searching “low-density fiber art motifs” — you’ll find clean, open designs that translate beautifully to tote scale.
Setting Up Your Punch Needle
This part trips up nearly everyone. Don’t thread it like embroidery floss. Instead, fold your yarn in half, pull the loop through the needle’s eye from back to front, then tug the tails through that loop — like a tiny lark’s head knot. That keeps tension even and stops slippage. Set your depth dial to 3.5mm (that’s the sweet spot for canvas + worsted yarn). Then mount your fabric *and* interfacing together in the hoop — not just the top layer. The interfacing isn’t optional; it’s what stops your stitches from pulling through the back when you flip the bag inside out later. Tighten the hoop until the fabric sings — no wrinkles, no give.
Embroidering the Tote Bag
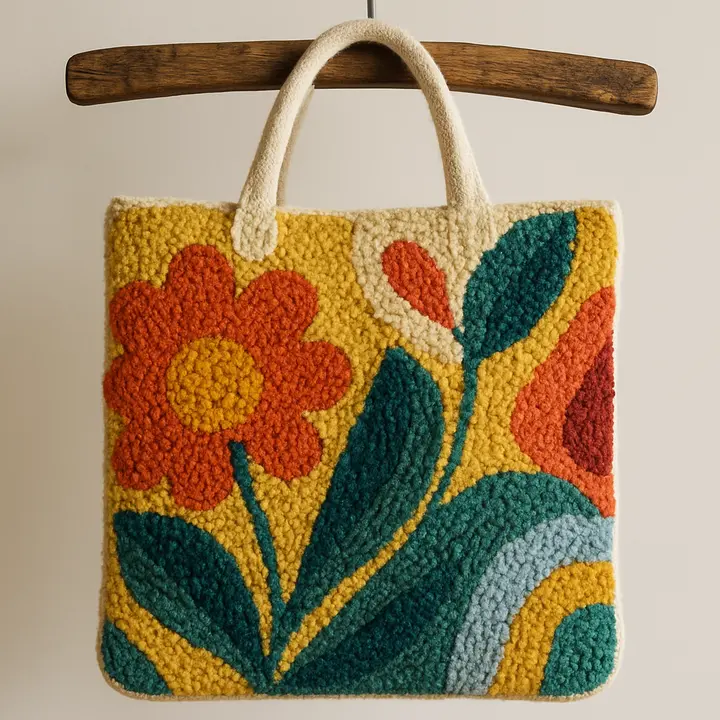
Hold the needle like a pencil, not a drill. Light pressure. Let the tool do the work. Start at the bottom of your design and work upward — gravity helps keep loops consistent. Move in straight rows, not circles. Each pass should land just beside the last, like shingles on a roof. You’ll notice the back side filling in with dense, fuzzy loops — that’s your anchor. The front? A smooth, velvety surface. If you see gaps, your yarn’s too thin or your depth’s off. And here’s what nobody tells you: it’s okay to go slow. About 11 minutes of steady punching covers roughly a 3″x3″ area. That’s not a flaw — it’s the rhythm of fiber art. You’re not racing. You’re building something tactile, intentional, and deeply yours.
Finishing Touches
Once stitching’s done, snip loose ends *on the back*, not the front. Then rinse the blue lines under cool water — no soap needed — and blot dry with a towel. Let it air-dry flat, weight-free. Now, cut two identical rectangles (16″ x 14″) from your embroidered fabric. Fold one in half, right sides together, and sew the side and bottom seams with a ½” seam allowance. Press those seams open with an iron — yes, *on low heat*. Then attach 2″ wide straps (I used contrasting olive canvas) by folding each end twice and topstitching with a ⅛” seam. Pro tip: reinforce the strap attachment points with a tiny square of fusible web before sewing. It adds invisible strength where stress lives.
Common Questions
What kind of yarn works best for punch needle?
Wool roving or 100% wool yarn — especially non-superwash varieties — gives the richest texture and holds its shape for years. Cotton works too, but it’s less forgiving if your tension slips. Skip acrylics entirely. They’re slippery, shed fibers, and flatten out fast — which kills the plushness that makes punch needle tote bags so special.
Can I use a regular embroidery hoop for punch needle?
Absolutely — but only if it’s wood, not plastic, and you tighten it *until the fabric creaks*. Plastic hoops flex under pressure and cause uneven stitches. If yours feels wobbly, wrap the inner ring with bias tape or rubber grip strips (they cost $3 online). Or just upgrade to a no-slip hoop once you’re hooked — it’s worth every penny.
How do I clean my punch needle tote bag?
Spot-clean only. Dab stains with cold water and a drop of castile soap. Never machine-wash. Heat and agitation loosen the loops, and the embroidery will pill or thin out. If it *really* needs freshening, lay it flat in the shade for a few hours — sunlight naturally deodorizes wool. And honestly? Most people just toss theirs in the closet and grab it again six months later looking exactly the same.
Final Thoughts
This isn’t just another DIY tote bag tutorial. It’s permission to make something slow, textured, and unapologetically handmade — in a world that moves too fast. You’ll end up with more than a bag. You’ll have proof that fiber art isn’t just for wall hangings. That textile craft can be functional, modern, and quietly rebellious. And if you post yours online? Tag it #punchneedletote. I’ll be the one double-tapping, wondering how long *my* next one will take.