

Candle Making for Beginners: Soy Wax Scented Candles at Home
You don’t need a studio or a degree to make candles. Just a stove, a saucepan, and ten minutes on a Sunday afternoon. I started my first batch in a borrowed apartment kitchen—no fancy tools, just soy wax flakes, a mason jar, and a wick I glued down with hot glue that oozed out the sides like a tiny beige lava flow. It smelled like burnt sugar and hope. That candle lasted three weeks and got me hooked on candle making—not as a craft, but as a kind of quiet rebellion against mass-produced scent.
Getting Started with Candle Making
Most people wait until they have “the right time” or “the perfect setup.” Don’t. The truth is, your first candle will probably look slightly lopsided, smell faintly like plastic for five minutes after lighting, and burn unevenly for the first hour. And that’s fine. Homemade candles aren’t about perfection—they’re about showing up, measuring something by weight instead of eyeballing it, and watching wax go from solid to liquid to something that holds memory (and lavender). You’ll learn more from one messy pour than ten YouTube tutorials.
Gathering Your Supplies
Here’s what actually matters—and what you can skip entirely:
- Soy wax flakes — Not pellets, not blocks, not beeswax unless you’re ready to wrestle its stubborn melt point. Flakes melt evenly, stick well to containers, and give off that soft, creamy glow we all associate with proper scented candles.
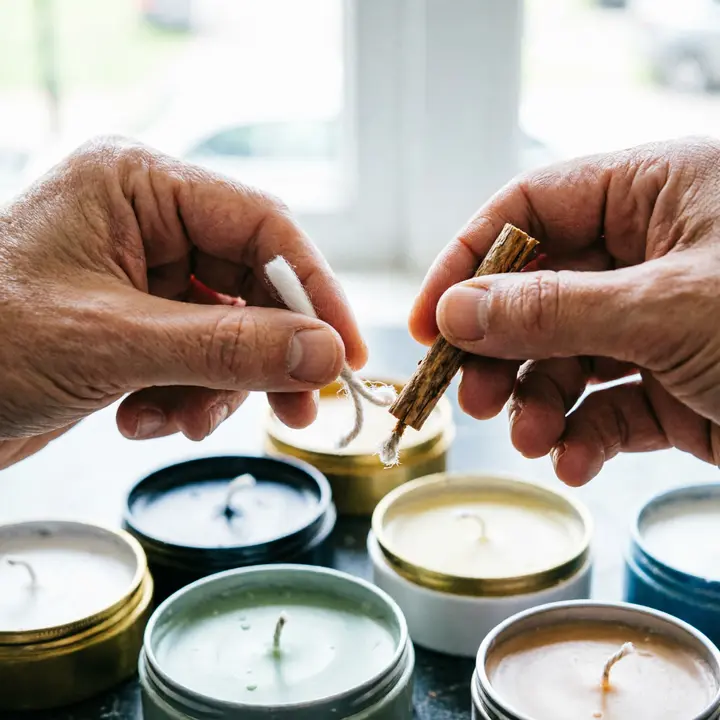
- Candle wicks — Pre-tabbed cotton wicks (like CDN or HTP) are beginner-proof. Skip the wooden ones for now—they’re gorgeous, but they demand precision you haven’t earned yet.
- Containers — Mason jars? Yes. Vintage teacups? Also yes—if they’re heat-safe and at least 2 inches deep. Avoid thin glass or anything with narrow necks. (That little crack you hear mid-pour? That’s your container giving up.)
- Fragrance oils — Not “essential oil blends” from Amazon, not “aromatherapy drops,” but actual candle-grade fragrance oils. They’re formulated to survive the heat and hold scent through the full burn cycle. Look for brands like CandleScience or Nature’s Garden if you want reliable scent throw.
- Dye chips — Optional, but fun. One chip melts into about 10 oz of wax. Go light—soy wax doesn’t take color like paraffin does. Think “hint of amber,” not “neon sunset.”
- A double boiler — Or a pot + stainless steel bowl. Never melt wax directly over flame. Ever. I learned this the hard way when my first pot bubbled over like a witch’s cauldron and coated my stovetop in caramelized soy.
- A thermometer — A $12 digital candy thermometer works. Wax behaves differently at 140°F vs. 175°F—skip this tool and you’ll get sinkholes, frosting, or weak scent throw.
- A scale — Not optional. Volume measurements lie. Soy wax density shifts with temperature. Weigh everything—even the fragrance oil.
You’ll notice I didn’t list a wick centering device, a pouring pitcher, or a UV stabilizer. Those come later. Start small. Make three candles. See how they burn. Then decide what you *actually* need—not what the Instagram ads say you do.
Choosing the Right Wax and Wicks
Soy wax isn’t trendy—it’s practical. It melts at a lower temp, cleans up with soap and water, and gives off less soot than paraffin. But here’s what nobody tells you: not all soy is equal. Some blends include coconut or palm wax to improve hot throw (that burst of scent when it’s lit). If you want strong fragrance in your DIY candles, look for “soy-coconut blend”—it’s worth the extra $2 per pound. As for wicks? Match them to your container diameter, not your wax weight. A 3-inch wide jar needs a different wick than a 2-inch tin—even if both hold 8 oz. Use a wick guide (CandleScience has a free one online), and test two sizes side-by-side. You’ll know you’ve nailed it when the melt pool hits the edge within 2–3 hours and leaves no tunneling.
Adding Fragrance and Color
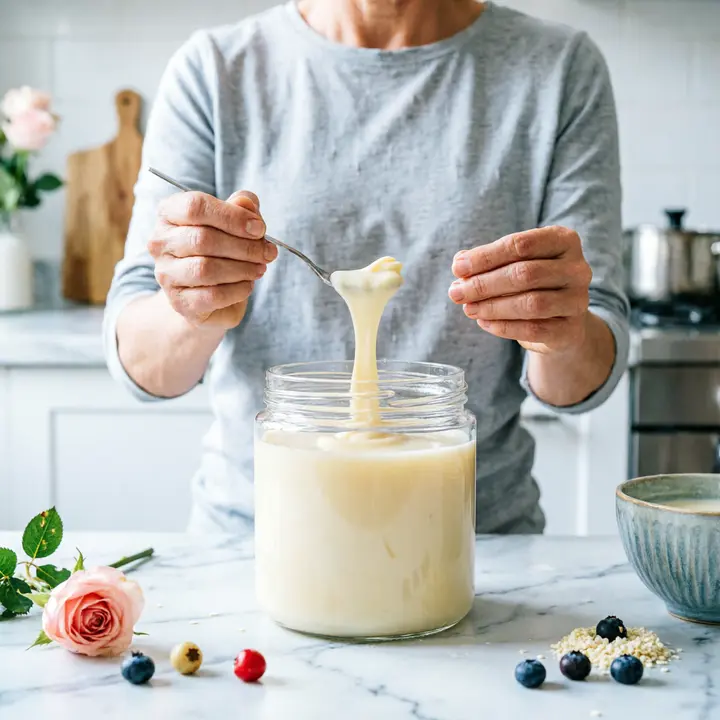
Fragrance oil goes in *after* the wax cools slightly—not while it’s screaming hot. Add it between 160–170°F. Too hot, and the top notes flash off like steam. Too cool, and it won’t bind properly. Stir gently for 2 minutes—no whisking, no splashing. You want even distribution, not a froth. And yes, you *can* use essential oils—but only if you accept that your lavender candle may smell like laundry detergent by week two. For real staying power in scented candles, go fragrance oil. Full stop. As for color: start with half a dye chip. Stir. Wait 30 seconds. Check again. Soy wax takes pigment slowly—and once it’s in, it’s in. No take-backs.

Pouring and Setting the Candles
Pour slow. Like honey in January. Hold the pitcher close to the container—no dramatic arcs. Let gravity do the work. Leave ½ inch of space at the top. That’s your “headspace,” and it matters more than you think. Too little, and wax spills when it expands. Too much, and the wick drowns. Then walk away. Seriously. Don’t poke, don’t prod, don’t check every 20 minutes. Let it set for a full 24 hours at room temp—no fridge, no fan, no “just one quick peek.” Rush this step and you’ll get cracks, sinkholes, or weird white streaks (called “frosting”) that look like candle acne. Trim the wick to ¼ inch *only* after it’s fully hardened. Any sooner, and you risk pulling the tab loose.
Common Questions
How much fragrance oil should I use?
Start with 6% by weight—that’s 6 grams per 100 grams of wax. For most beginners, that’s about 1 oz per pound. Stronger fragrances (vanilla, sandalwood) can handle up to 10%. Lighter ones (citrus, green tea) often max out at 5%. If your candle smells like nothing when lit, try bumping it up next batch—but never exceed 12%. Too much oil destabilizes the wax and creates oily puddles on top.
Can I use essential oils instead of fragrance oils?
You can—but it’s like using bicycle brakes on a sports car. Essential oils break down faster under heat, have weaker cold throw (the scent before lighting), and rarely fill a room the way candle-grade fragrance oils do. If you’re committed to natural scents, try blending 3% essential oil with 3% fragrance oil. You’ll get brightness *and* staying power.
What if my candle has air bubbles on the surface?
They’re normal. Soy wax traps air as it cools. Tap the container firmly—twice—right after pouring. That usually pops most of them. If you still see dimples after 12 hours, grab a heat gun (or blow dryer on low/medium) and hover it 6 inches above the surface for 10 seconds. The top layer will re-melt just enough to smooth itself out. Don’t overdo it—you’re not trying to relight the candle, just coax the surface.
Final Thoughts
Candle making isn’t about filling your shelves with pretty jars. It’s about learning how heat, chemistry, and patience intersect in something as simple as melted soy. Your first few batches might be lumpy, uneven, or smell faintly like disappointment. Mine did. But somewhere around batch number four, you’ll light one, watch the flame catch clean and steady, and realize: you made that. Not a factory. Not an algorithm. *You.* So grab your wax melting gear, pick a scent that makes you pause, and pour something real. The world already has enough generic scented candles. What it needs is yours.