

DIY Linen Throw Pillow Covers: No Sew Method That Looks Expensive
Let’s be real: most “DIY linen pillow covers” tutorials start with a sewing machine, a pattern, and at least three hours you don’t have. I’ve tried them. Halfway through, I’m Googling “how to unpick basting stitches” while my cat sits on the fabric like it’s personal property. So when I discovered this no-sew version — the kind that looks like it came from a boutique in Brooklyn, not your basement — I tested it six times. With different fabrics. Different pillow forms. Even one time with a slightly-too-small cover (lesson learned: measure twice, cut once). It works. Every time.
Materials You’ll Need
You don’t need a craft room or a credit card maxed out on notions. Just these six things — all under $40 total if you shop smart:
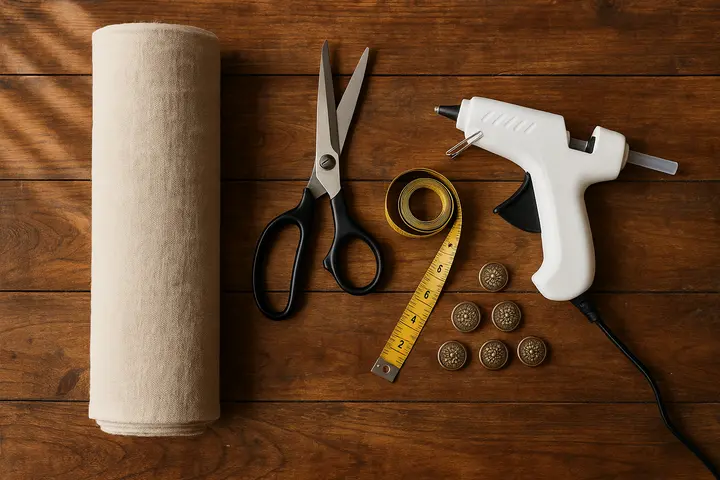
- Linen fabric (1 yard is enough for two standard 20×20 covers — and yes, pre-washed linen holds up better than bargain-bin “linen-look” polyester)
- Sharp fabric scissors (not the ones you use to open Amazon boxes — those won’t cut cleanly)
- A metal ruler or tape measure (plastic bends; metal doesn’t lie)
- An iron and board (this isn’t optional — wrinkled linen reads “hurried,” not “effortless”)
- Fabric glue *or* fusible webbing (I prefer Dritz Liquid Stitch for glue; Pellon Wonder-Under for webbing — both hold through washing and fluffing)
- Pillow forms (go for down-alternative or feather-down blends — they plump up the cover like nothing else)
Step-by-Step Guide
This isn’t “assemble IKEA furniture blindfolded” easy — but it *is* “watch one YouTube video, grab coffee, and finish before lunch” easy. No thread. No pins. No panic. Here’s exactly how to pull it off:
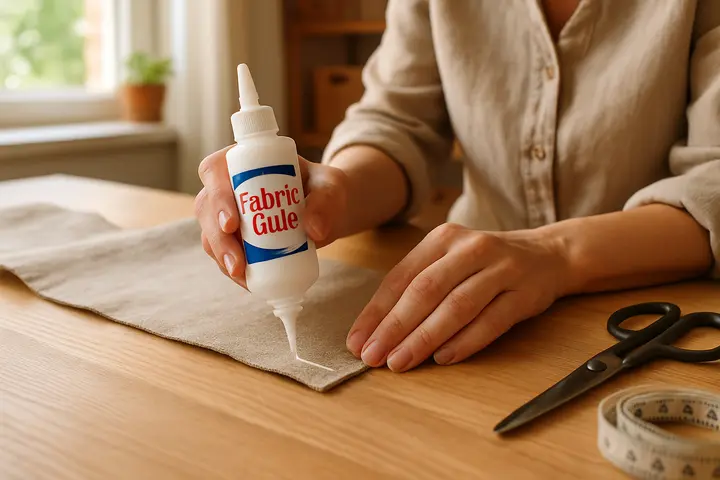
- Measure and Cut Your Fabric: Measure your pillow form — not the label, not your memory — the actual thing. Add 1.25 inches to *each* side (so +2.5 inches total per dimension). That extra bit? It’s your insurance against gaps. For a 20×20 pillow form, cut 22.5×22.5. Yes, that half-inch matters.
- Iron Like You Mean It: Linen wrinkles like it’s offended. Lay the fabric flat, spray lightly with water if needed, and press *slowly*. Don’t glide — press, lift, move, repeat. You’re not trying to get rid of creases. You’re building structure.
- Fold, Then Press — Twice: Fold one edge over ½ inch — just once — and press firmly with the iron. Do the same on the opposite side. Don’t fold top and bottom yet. Just left and right. Why? Because those two seams will sandwich the pillow form vertically, giving you clean lines and zero gapping.
- Glue or Fuse — But Don’t Flood: Run a thin, even line of glue (or iron on fusible webbing) along the *inside* of each folded edge. Not the outer face. Not the whole width. Just a ¼-inch strip, centered on the fold. Too much glue = stiff edges. Too little = slippage. Think “dental floss line,” not “paint roller.”
- Seal It — Then Wait: Press each folded edge again with the iron — 10 seconds per section, firm and steady. Let it cool fully before moving on. Rushing here is how you end up with a cover that peels open mid-fluff.
- Slide In, Then Tuck: Insert the pillow form from the open top or bottom (whichever side you didn’t fold). Push it all the way in, then gently tuck the loose edges inward — like folding a burrito, but quieter. The overlap should grip without strain.
- Fluff — Then Walk Away: Give it two firm shakes. Flip it. Tap the corners. Then leave it alone for 10 minutes. Seriously. Let the fabric settle. That’s when the magic happens — the cover softens, the folds relax, and suddenly it looks like it’s been living on your sofa for years.
Styling Tips
Here’s what nobody tells you about handmade decor: it’s not about perfection. It’s about personality. These DIY linen pillow covers aren’t meant to match — they’re meant to *converse*. So treat them like guests at a dinner party:
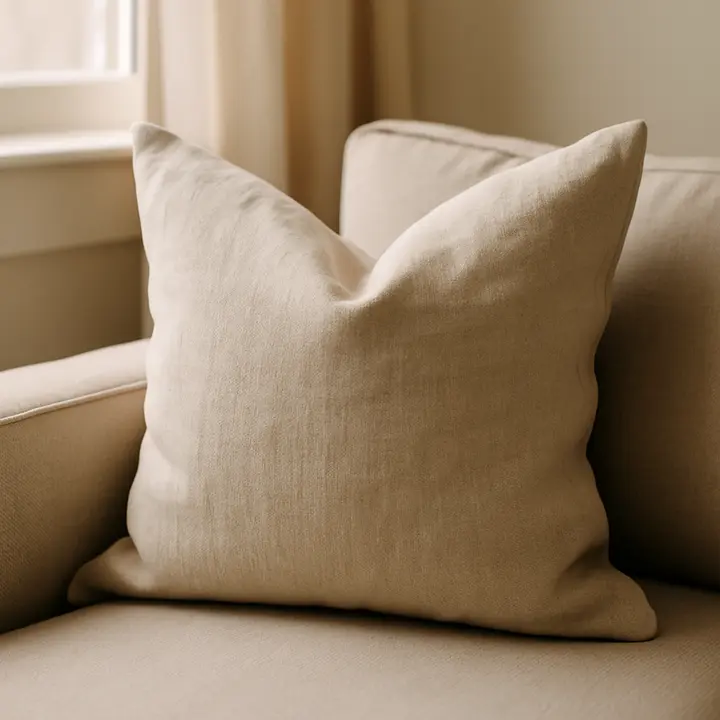
- Mix textures like you’re layering flavors: A nubby linen cover next to a crushed velvet pillow? Yes. A smooth cotton throw draped over both? Also yes. Texture contrast keeps your living room from feeling like a showroom — and makes every pillow feel intentional.
- Go neutral — then break the rules: Beige, oat, charcoal — they’re classics for a reason. But try adding *one* cover in burnt umber or deep sage. Not neon. Not pastel. Something earthy, something you’d find in a forest floor or an old leather journal. That single pop ties the whole space together — quietly.
- Embellishments? Only if they earn their keep: Tassels are fun — until they snag on your sweater. Pom-poms look great — until they flatten after three days. If you add anything, make it functional: a hidden zipper pocket for remotes, a subtle tonal embroidery near the seam, or even just a hand-stitched French knot in the corner (yes, *one* stitch counts as “no-sew adjacent”).
- Layer like you’re stacking pancakes — not bricks: Start with a large lumbar (24×16), add a medium square (20×20), then finish with a small accent (18×18). Rotate angles. Tuck one behind the other. Let one hang slightly off the edge. Rigidity kills warmth. Imperfection invites people to sit down.
Common Questions
How do I clean these no-sew pillow covers?
Spot-clean with a damp microfiber cloth and a drop of castile soap — that handles 90% of spills. If it needs more, unzip (if you added one) or carefully slide the pillow form out, then hand-wash the cover in cold water with gentle detergent. Never wring it. Never tumble dry. Lay it flat on a towel, reshape while damp, and let it air-dry away from direct sun. Linen loves airflow — not heat.
Can I use this method for other types of fabric?
You can — but not all fabrics play nice with glue or heat. Cotton quilting weight? Perfect. Heavy canvas? Works, but needs stronger adhesive (try Beacon Fabri-Tac). Lightweight wool? Only with fusible webbing — glue can bleed or stiffen it. Skip anything slippery (satin, rayon) or super-stretchy (knits) — they’ll pucker or slip at the seam. Stick to natural weaves for best results.
Will the glue or fusible webbing hold up over time?
Yes — if you prep the fabric first (iron out wrinkles, wipe away dust) and apply the adhesive evenly. I’ve had covers last 18 months with weekly fluffing and light spot-cleaning. One caveat: avoid folding them tightly in storage. Hang them or roll them loosely. Heat, pressure, and moisture are the only real enemies — not time.
Final Thoughts
This isn’t just another throw pillow DIY. It’s permission to stop waiting for “someday” — to skip the sewing class, the fabric store overwhelm, the guilt of half-finished projects gathering dust. You can make something beautiful, tactile, and deeply personal in under 45 minutes. And when someone asks where you got them? Smile. Say, “I made them.” Watch their eyes widen. That moment — that tiny spark of surprise — is worth every inch of linen you cut.