
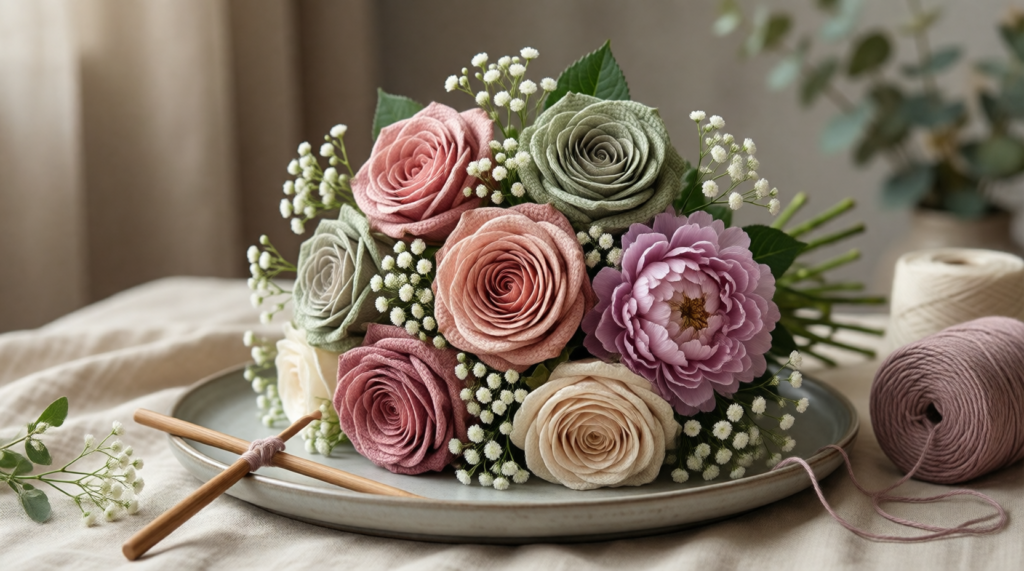
Crochet Flower Bouquets: Step-by-Step Beginner Tutorial for 2026
- 1. Introduction
- 2. Why Crochet Flower Bouquets Are Perfect for Beginners
- 3. Gathering Your Materials
- 4. Basic Crochet Stitches You Need to Know
- 5. Creating the First Flower: A Simple Petal Pattern
- 6. Building More Flowers: Variations and Techniques
- 7. Assembling Your Bouquet: Tips and Tricks
- 8. Common Questions
- 9. Final Thoughts
1. Introduction
There’s something magical about creating your own crochet flower bouquet. It’s not just a craft—it’s a way to express yourself through color, texture, and creativity. Whether you’re looking for a handmade gift idea or simply want to try something new, this project is perfect for beginners. Plus, who wouldn’t love receiving a bunch of flowers that last forever? Let’s dive into how you can create your very own DIY bouquet step by step.
2. Why Crochet Flower Bouquets Are Perfect for Beginners
If you’ve ever felt intimidated by crocheting, here’s some good news: making a flower bouquet is one of the easiest ways to get started. Unlike complex patterns, these projects focus on basic stitches and simple shapes. Plus, they’re forgiving—if you make a mistake, it’s easy to fix or even embrace as part of the charm. And let’s be honest, there’s nothing more satisfying than turning a ball of yarn into a beautiful, colorful arrangement.
3. Gathering Your Materials
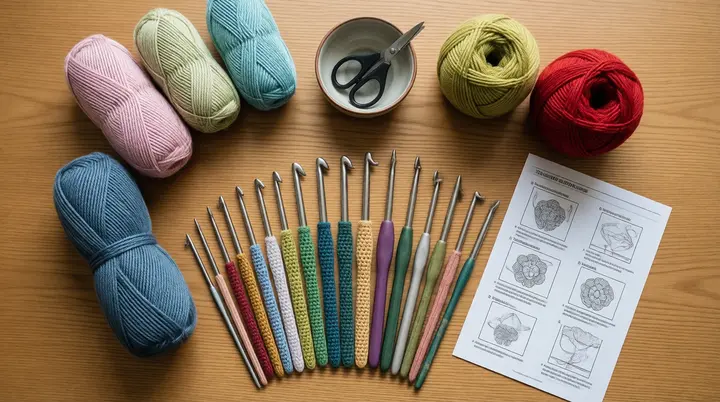
Before you start stitching, gather everything you’ll need. You’ll want a variety of yarn colors (think bright hues for petals and green for leaves), a medium-sized crochet hook, scissors, and maybe even some floral wire for structure. Don’t overthink it—grab what feels right. If you’re unsure where to begin, head to your local craft store or browse online for beginner-friendly supplies. Trust me, having all your tools ready makes the process smoother and more enjoyable.
4. Basic Crochet Stitches You Need to Know
Here’s the thing: you don’t need to master every stitch under the sun to create stunning flowers. Focus on three key ones: chain stitch, single crochet, and double crochet. These form the foundation for most petal patterns. Once you feel comfortable with them, you’ll see how versatile they are. For example, chaining creates the base circle for many flowers, while single and double crochets add texture and shape. Practice a bit before jumping in—it’ll pay off when you start assembling your bouquet.
5. Creating the First Flower: A Simple Petal Pattern
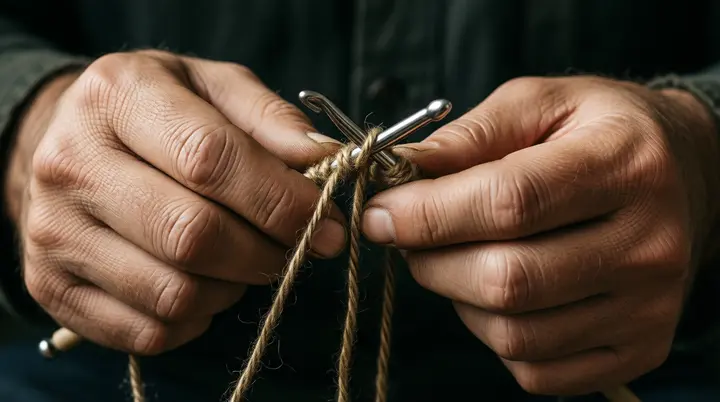
Let’s start small. Begin by chaining six stitches and joining them into a ring. From there, work up a series of double crochets around the circle, increasing at regular intervals to create those iconic petal shapes. Sounds complicated? It’s not. The rhythm will come naturally after a few rounds. Experiment with different yarn weights and hook sizes to see how they affect the outcome. Remember, each flower doesn’t have to be perfect—it’s the overall effect that counts.
6. Building More Flowers: Variations and Techniques
Once you’ve got the hang of your first flower, why stop there? Try mixing things up by using different yarn textures or adding extra layers to your petals. Maybe you prefer daisy-like simplicity or want to tackle roses with intricate loops. Each variation brings its own personality to the bouquet. Don’t be afraid to combine techniques either—sometimes the best results come from experimenting without worrying too much about “getting it right.” After all, crafting should be fun!
7. Assembling Your Bouquet: Tips and Tricks
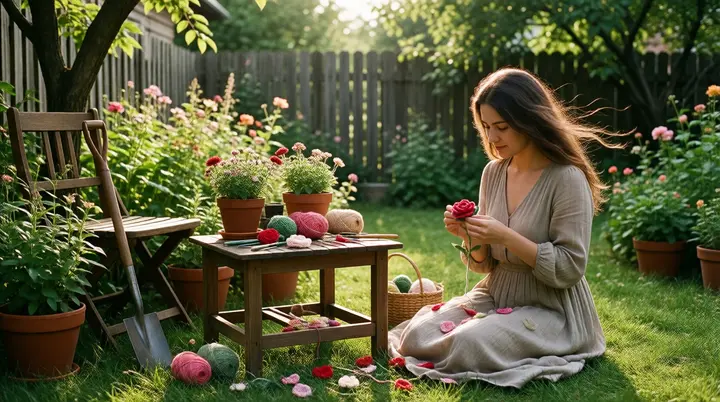
Now comes the fun part: putting it all together. Start by grouping similar-colored flowers into clusters, then attach them to a central stem made from floral wire or ribbon. Add greenery like leaves to balance out the colors and give your bouquet depth. One tip I’d share is to stagger the sizes of your flowers—it adds visual interest and makes the arrangement feel fuller. Finally, wrap the stems neatly with twine or fabric tape for a polished look.
8. Common Questions
What kind of yarn works best for crochet flowers?
You have options! Acrylic yarn is durable and affordable, making it ideal for beginners. Cotton yarn offers a softer touch and holds its shape well, which is great for detailed designs. Wool provides warmth and texture but might be trickier if you’re just starting out. Ultimately, choose based on what you enjoy working with—it’s your project!
Do I need special hooks for crocheting flowers?
Nope! Any standard crochet hook works fine. Just pick one that matches the weight of your yarn. For lightweight yarns, go with a smaller hook (around size E or F). Heavier yarns call for larger hooks (size G or H). Consistency matters more than anything else—once you find a combo you like, stick with it.
How long does it take to complete a bouquet?
That depends on how ambitious you’re feeling. A modest bouquet with five to seven flowers could take anywhere from two to four hours spread across a couple of days. Larger arrangements obviously require more time, but remember: speed isn’t the goal. Enjoying the process is.
9. Final Thoughts
Making a crochet flower bouquet isn’t just about learning stitches—it’s about tapping into your creativity. Every loop and stitch becomes an opportunity to personalize your piece. Whether you’re giving it as a gift or keeping it for yourself, there’s immense satisfaction in knowing you created something truly unique. So grab your yarn, pick up your hook, and let’s get crafting!